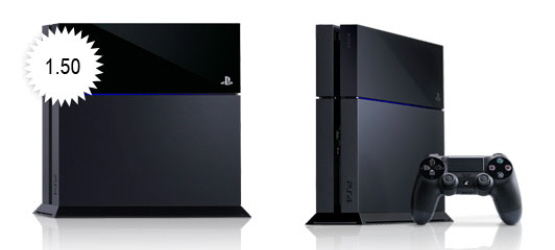
Earlier, we let you know how System Software Update 1.50 for the PS4 is now available and gave you steps on how to download and install it. If, however, you were planning on replacing your PS4’s HDD with something a little bigger so you don’t need to worry about space, it’s a bit of a different process, with Sony giving out this note:
Be careful when using an update file for reinstallation. All users and all data will be deleted.
First up, you’ll need a USB storage device, such as a flash drive, with at least 1GB of free space remaining (the update is 859MB), a computer connected to the internet, and a PS4. Once you have those, follow these steps:
- On the USB storage device, create folders for saving the update file.
- Using a computer, create a folder named “PS4”. Inside that folder, create another folder named “UPDATE”.
- Download the update file, and save it in the “UPDATE” folder you created in step 1.
- Save the file with the file name “PS4UPDATE.PUP”.
- Turn off the power of your PS4 system completely.
- Check that the power indicator is not lit. If the power indicator is lit up in orange, touch the power button on the PS4 system for at least 7 seconds (until the system beeps a second time).
- Connect the USB storage device that the update file is saved on to your PS4 system, and then touch the power button for at least 7 seconds.
- The PS4 system starts in safe mode
- Select [Update System Software].
- Follow the screens to complete the update.
- If your PS4 system does not recognize the update file, check that the folder names and file name are correct. Enter the folder names and file name in single-byte characters using uppercase letters.
When replacing your HDD, don’t worry about losing The PlayRoom, as you will get it back, presumably inside the system update reinstallation.
Will you be replacing your HDD right away? Let us know in the comments below.
[Source]