
Welcome to Gamer Academy, a weekly feature that will teach you what you need to know regarding the latest games, hardware and more.
This week we will have a two part feature, where we will help you through the final set of bosses for the grueling title, Dark Souls 2.
Royal Rat Vanguard – 1410 HP
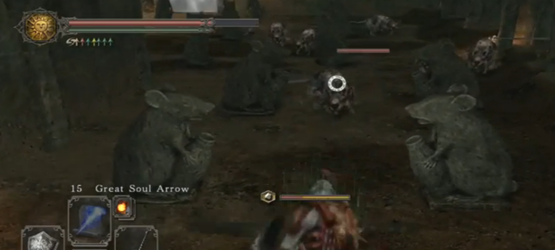
Before starting your battle with the Royal Rat Vanguard, you will need to defeat 10 of the normal rats that will swarm you from all around. Once he appears (he will be the one with the mohawk), you will still have to deal with the normal rats, but it makes no sense to try fighting them, as they will just keep coming. So, keep running around the perimeter of the room, making sure to manage your stamina, and keep focusing your attacks on the boss unless absolutely mandatory.
The Rotten – 7080 HP
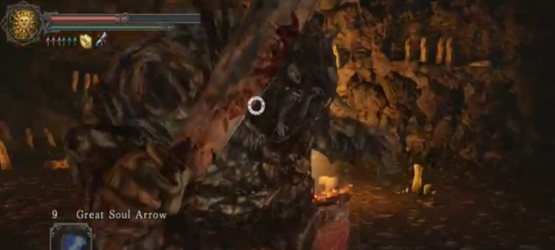
This fight is mostly about maintaining enough stamina to be able to dodge when needed, and not get caught short. Melee classes will need to stay close, rolling toward The Rotten and attacking, then regenerating stamina before having to do it again. If you focus your attacks on his arms, you can sever them and earn specific items, while also denying him the ability to use them to attack, until they regenerate. After his life drops about half way, you will need to fall back a bit, as he will start using an area effect attack.
Smelter Demon – 5970 HP
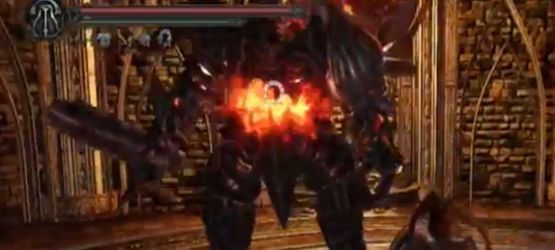
The challenge to this fight will start when he starts emitting flame all around him, causing damage to you every time you get close. From here your ability to block his attacks will be reduced significantly, so unless you have a high resistance to fire, it is smarter to dodge his attacks instead of blocking. Keep rolling towards his back and attacking, making sure to pay attention to his tell signs so you know how to dodge. Using a Small Orange Burr is also recommended, but not necessary, as it will reduce his fire damage.
Old Iron King – 6070 HP
Watching your step should become your first priority, as there are many pitfalls in the area that will end your fight prematurely. Fighting the Iron King is not about strategy, as much as it is about timing, as you won’t be able to block his melee attacks, forcing you to have to time your rolls so you can counter-attack.
Scorpioness Najka – 5910 HP
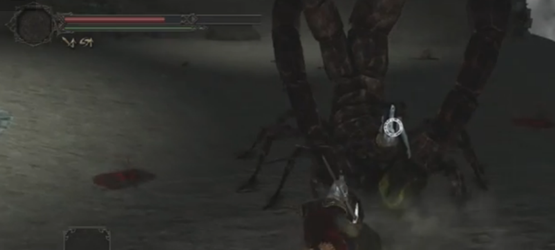
The first time to fighting Najka, is to not use the lock on, as it will inhibit your ability to dodge many of her attacks. Keep moving until she begins to cast a spell that will draw energy into her spear, that will eventually shoot out in an arc. This will be your time to strike as the attack will not hit directly in front of her, as well as hitting her when she emerges from the ground and after her tail strike.
Royal Rat Authority – 4330 HP
This fight will only start after you attack its minions below him, but if you do not finish them off before he joins the battle you will have to deal with all of them at the same time. If you don’t get all of them, make sure to clear them out of the way before dealing with the Royal Rat. Due to its size and speed, the best place to attack it is from underneath, so wait for it to swipe at you so you can roll under and strike.
Prowling Magus – 1100 HP
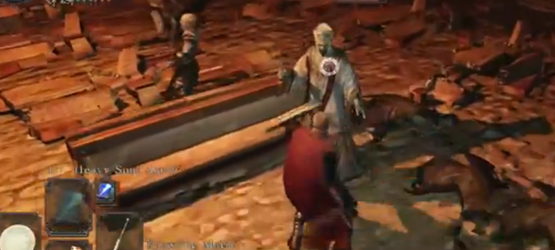
Start the battle by rushing the Dark Cleric on the right. You can stop them from casting spells by hitting them, so try using more broad sweeping attacks to hit more than one at a time. Once both Clerics are taken out, then you can start working on the smaller foes, while dodging the Magus’ spells. Once he misses with a spell, you can run in and attack, but maintain enough stamina to be able to fall back, then repeat as necessary.
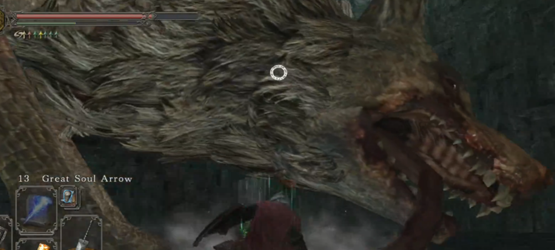
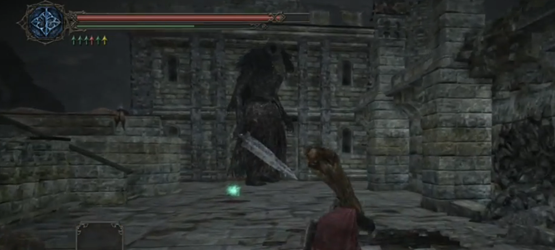
The Duke’s Dear Freja – 4220 HP

Focus your attacks on Freja, as the Parasite Spiders will only respawn, so it is all about taking her out as soon as possible. To damage her, focus on either of her two heads, located on each end of her body. Simply keep circling the parameter at a medium distance and waiting for a moment to strike, as most of Freja’s attacks will be either in front or behind her.
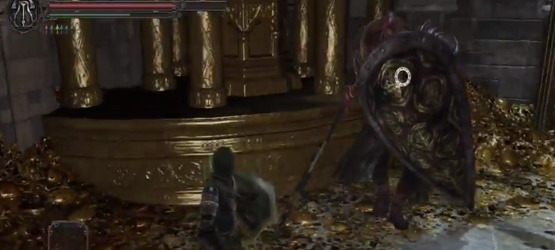
The Lost Sinner – 3900 HP

Before starting this fight, know that you can make things easier if you add more light to area by opening the side doors with the Bastile Key and lighting the torches. The Sinner is incredibly fast and aggressive, so bringing in a summon to distract her does make things easier, as he will be distracted. Otherwise, your best bet is to wait for him to do an overhead swing to attack as it will have the biggest opening to retaliate.
Dual Dragonriders – 1470/3670 HP
Focus your attacks on the Black Dragonrider, as he is the one with the lower health. Use a ranged attack to take him out, this includes melee classes as he will only join the fight when he is at about a quarter life down or the Red Dragonrider is down to about half. Keep focusing your attacks until he is down, then you can focus on the other one, as the faster you even things out the better.
Looking Glass Knight – 6540 HP
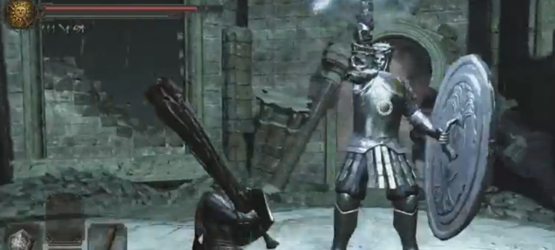
High defense and big shield make the Glass Knight a pain, so make sure to keep moving towards his right side. Attacking before and after he charges his sword with lightning is the best time to strike, but watch out for him unleashing an attack right after, as it can be one of three different attacks.
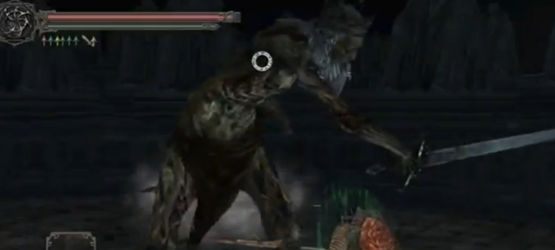
Demon of Song – 6180 HP

The Demon of Song’s only weak spots are his hands and his head, but will will cover them at points making this battle more of a cat and mouse routine than anything. The best bet is to stay at medium range and bait him to attack, then retaliate during his recovery period. After he drops down to about half health, make sure to watch out for a change in his combo, but everything else remains fairly the same.
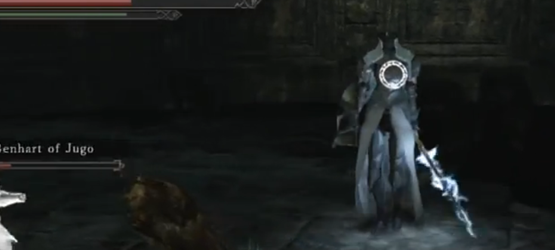
Velstadt, The Royal Aegis – 6290 HP

Try to stay behind Aegis, as most of his attacks will cause a great deal of damage or loss of stamina, but almost all of them can be parried. Like almost all fights, your time to strike will be during his recovery period after a big attack, so make sure to manage your stamina. Eventually, he will kneel and swing his hammer for a ranged dust attack, this is the perfect time to do most of your damage and get away before he strikes.
Vendrick – 11450 HP
This fight is more about the number of Souls of a Giant than anything, as Vendrick’s defense will be lowered for each one you carrying (up to 5). Fighting him is relatively easy, as the usual tactics of rolling and trying to get behind him will carry you through this fight, but the duration of the battle will depend on how prepared you were going into it.
Guardian Dragon – 5270 HP
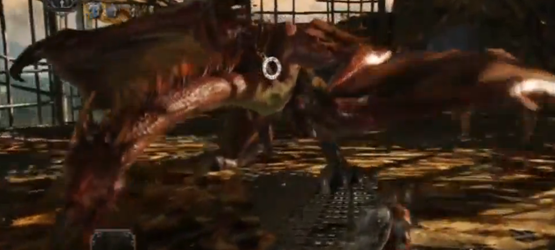
The best place to do combat with the Guardian Dragon is directly beneath it, but watch out for its stomping attack. Most of the attacks should be focused on getting rid of its tail, as it will open up the backside for attacks without fear of getting hurt.
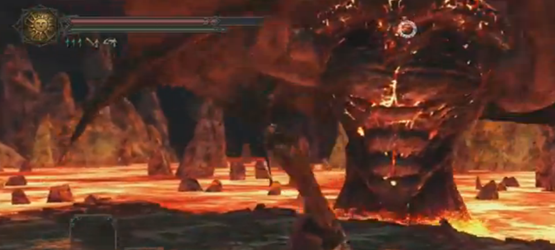
Ancient Dragon – 19840 HP
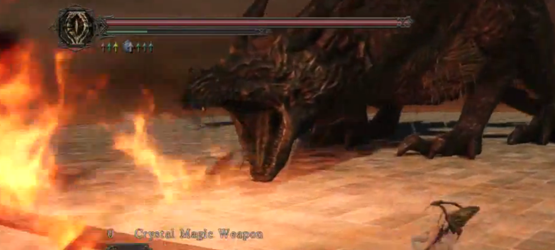
You will need to stay at about a medium distance from the dragon from the beginning as it will try to blow fire at you, which you will need to circle strafe to avoid. Much like the Guardian Dragon, your goal is to get underneath it so you can attack its feet (or toes) and tail, although nothing can be severed. Most of this fight is about watching out for the stomp and maintaining enough stamina to be able to get out of the way when the Ancient Dragon goes airborne. When this happens, make sure to run towards its tail end, so you can get away from its head and the fire it will be raining down.
Giant Lord – 5970 HP
This is a simple fight about just doing enough damage as possible while avoiding its horizontal and vertical swords attacks, and not getting stomped on. One helpful tip though, is that the Giant Lord is susceptible to poison, so if you have some on hand, use it.
Throne Watcher and Throne Defender – 3910/2760 HP
Focus your efforts on the Watcher, as he is the one with the lower health and is the most aggressive. The only issue will be that, if you kill one, the other one may revive that one back to life with full health. So, if you can do enough damage to kill one before the spell completes, it should be ok to finish one off at a time. Otherwise, it might be best to lower both of their lives before going in for the kill. Much like the Giant Lord, both opponents are weak to poison, which will let you dwindle down their life without having to put yourself at too much of a risk.
Nashandra – 8770 HP
Nashandra will cast Dark Beacon, a spell that places a Beacon near you that will hurt and curse you. Your goal is to make sure to destroy any of them that are near you so that you have room to move, just make sure to run if she is surrounded by too many of them. Past that, this fight is fairly simple and requires little more than dodging and attacking after she misses a spell/attack. But, if her chest starts to glow, run or roll away.
Congratulations, you have survived Dark Souls 2!


