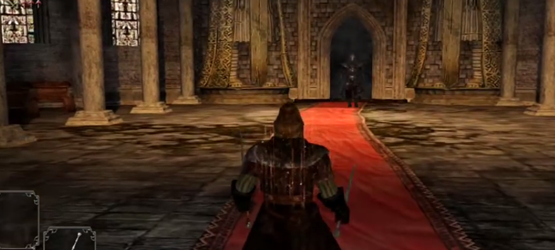
Welcome to Gamer Academy, a weekly feature that will teach you what you need to know regarding the latest games, hardware and more.
This week we will have a two part feature, where we will help you through the first set of bosses for the grueling title, Dark Souls 2.
The Last Giant – 2530 hp
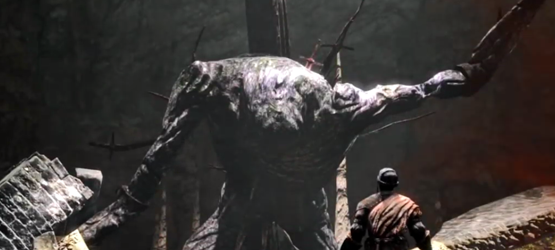
Use the roll to get past his giant swing and attack his feet, but watch out for his stomp. When he does stomp, make sure to roll away, as he will alternate legs as he stomps, which can kill in one shot. If done correctly, he will return to doing his big swing, which will allow you to repeat this process. Once he is about half way down in health, he will rip off an arm and use it as a club, when this happens he will be able to reach further, but his attack pattern will remain the same.
The Pursuer – 3110 hp
This is a fairly simple battle if you know how to handle it. Simply lure him in front of one of the ballistas and wait for him to do a combo, then get behind the ballista and shoot him with it for critical damage, but be careful as he can destroy it.
Dragonrider – 3050 hp
The most difficult part of this fight is being knocked off the platform to your death, but if you found and pulled both levers before this fight, you will be able to avoid this. Fighting the Dragonrider is relatively simple, as you only really need to get behind him to kill him. Simply keep circling and rolling to avoid most of his attacks, but make sure not to be too far away, as you will just increase the amount of distance you need to travel to get a clear shot or get behind him. Ranged classes won’t have to worry about distance, just keep moving and rolling as necessary.
Old Dragonslayer – 2880 hp
Most of his attacks can be avoided by rolling past him, allowing you to get behind him and deal damage. The fight is relatively easy, and can be handled by blocking the first attack and rolling past the second attack to get into position. Most of his moves will be a thrust, so make sure to time your rolls and save you stamina to move, attack and allow a getaway when needed.
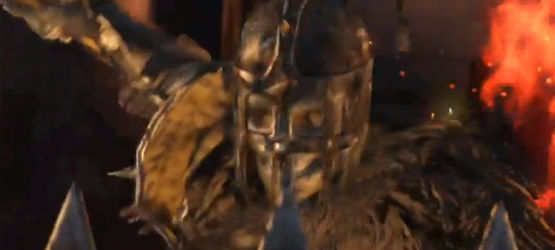
Flexile Sentry – 3150 hp
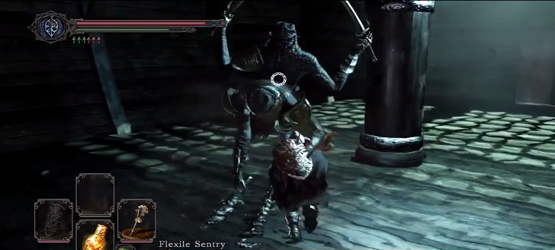
Depending on which side you are standing on will determine which weapon you are attacked by. Barbed Club side – this is the optimal place to attack, as it is the slowest side but will do the most damage, so watch your guard breaking. Curved Sword Side – Use the pillar to try and get back to the club side of the sentry, but watch out when you do cross because he will hit you with the club.
Ruin Sentinels – 2330 hp
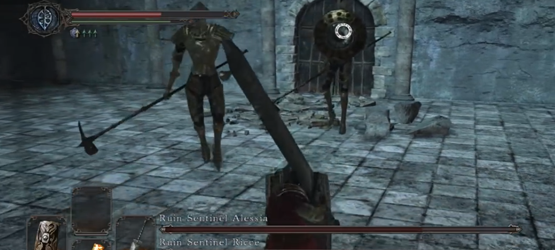
Sentinel 1 – Fight him at the entrance before dropping down, by simply blocking and getting behind him for a clear shot.
Sentinels 2 & 3 – This is the hardest part, as you will have to take on both at the same time as soon as you fall down, on top of the fall damage. If possible, try to keep them paired up and in sync, so that they will both be recovering from attacks at the same time. Do not let them surround or flank you, as it will surely lead to a quick death. To avoid this, simply keep backing up so that you can control their positions.
Belfry Gargoyles – 1400 hp

As soon as this fight starts, the first gargoyle will start moving, then a second one will start shortly after. After the boss’ life drops down a bit, a third will join and then afterwards a fourth and fifth will join. The ideal way to do this is handle this fight is by trying to focus on a single gargoyle so that you won’t have to deal with all 5 at the same time. Due to their weakness to magic, Sorcerers will have an easier time than melee classes, but by using Dark Resin, you can improve your overall damage. Since there are so many of them, you will need to keep moving and not spent too much time or stamina doing drawn out attacks, or you will get flanked.
Skeleton Lords – 780/780/520 hp
First target the boss with the Scythe, as he tends to be able to be pulled away easier than the others, so you can even out the fight. Draw him behind a pillar so that you can avoid dealing with the other Skeleton Lords, but watch out, as more enemies will spawn after his is defeated. Take out the smaller enemies, then work on luring in another Lord behind a pillar, and repeat the process.
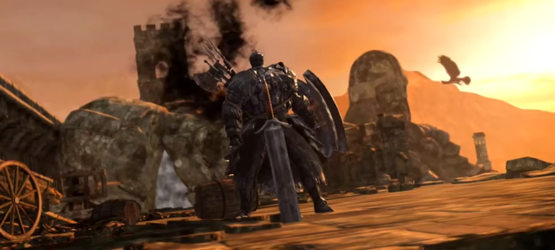
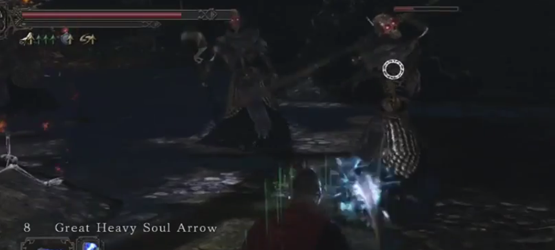
Executioner Chariot – 4140 hp
As soon as the fight starts, the chariot will run in circles around the area, forcing you to hid in one of the nooks along the wall as he passes. After that, you will need to pull a lever guarded by Necromancers and a group a skeletons. Focus your attacks on the Necromancers or let the chariot do it for you, as the skeletons will simply keep coming back. As you move from Necromancer to Necromancer, make sure keep an eye out for the chariot and use the nooks for cover. Once the lever is pulled, the chariot will crash allowing you to attack it before the next segment starts. Simply wait for it to do a sweep so you can roll behind it to do most of your damage, but watch out for its charge, stomp and bite.
Covetous Demon – 4440 hp
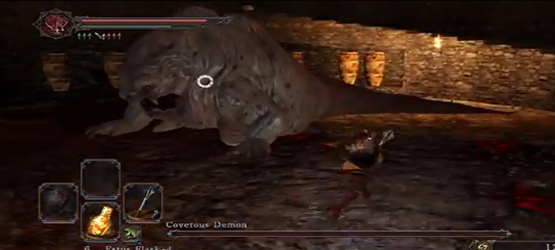
The best way to defeat the demon is by breaking free the Undead hanging above, so that he will be distracted, allowing you to attack. Be quick and you can do this fight without taking any damage.
Bytha, The Baneful Queen – 3570 hp
The biggest threat here will be the gas that will poison you and heal Bytha. To remove the poison, you will need to destroy the windmill by setting it on fire with a torch before starting this fight. Now that you have a fighting chance, make sure to roll to avoid her attacks except for the thrust, as you can simply move out of its way and attack her. Just repeat this process and you will be victorious in no time.
Stay tuned next week, as we will be bringing you the second half of the Dark Souls 2 boss tips and strategy guide.