Great Bridge
Previous: Central Yharnam
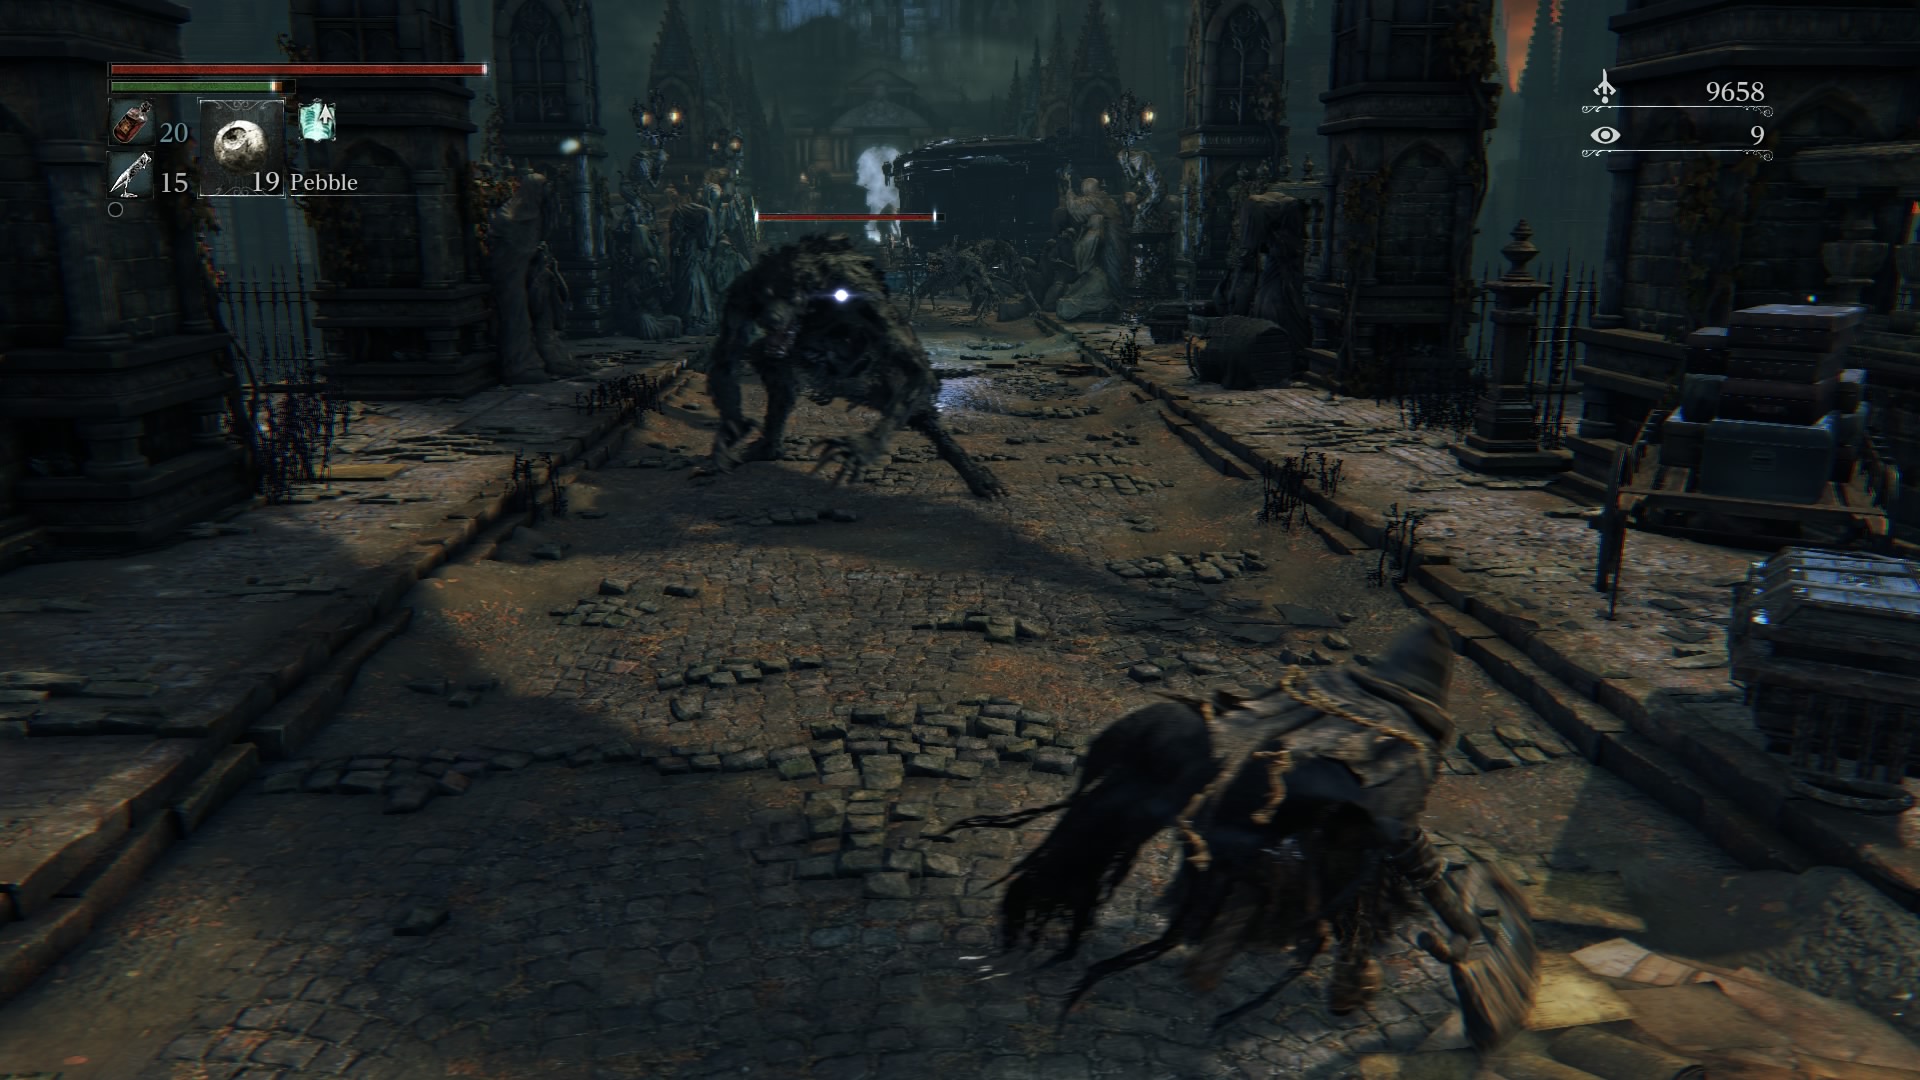
From the start of the Great Bridge, you’ll immediately see two large wolverines, like the kind that killed you earlier, only stronger. If you don’t feel ready to take them on just yet, I don’t blame you. There’s good news on that front – just keep walking to your left (the wolverines’ right). There’s another flight of stairs that you can take down. Head down, and don’t worry, there’s no new enemies here. Collect what you can, and if you feel like combing the sewers then head down the alley with a bunch of wooden stuff. Smash most of this, but especially the coffins, which will reveal a path you can walk to take a ladder down. Or you could always roll onto the platform below, though of course this runs the risk of an untimely death in your near future. Click the following link to read all about the sewers, including a giant pig (or keep reading for the rest of the strategies for the Great Bridge):
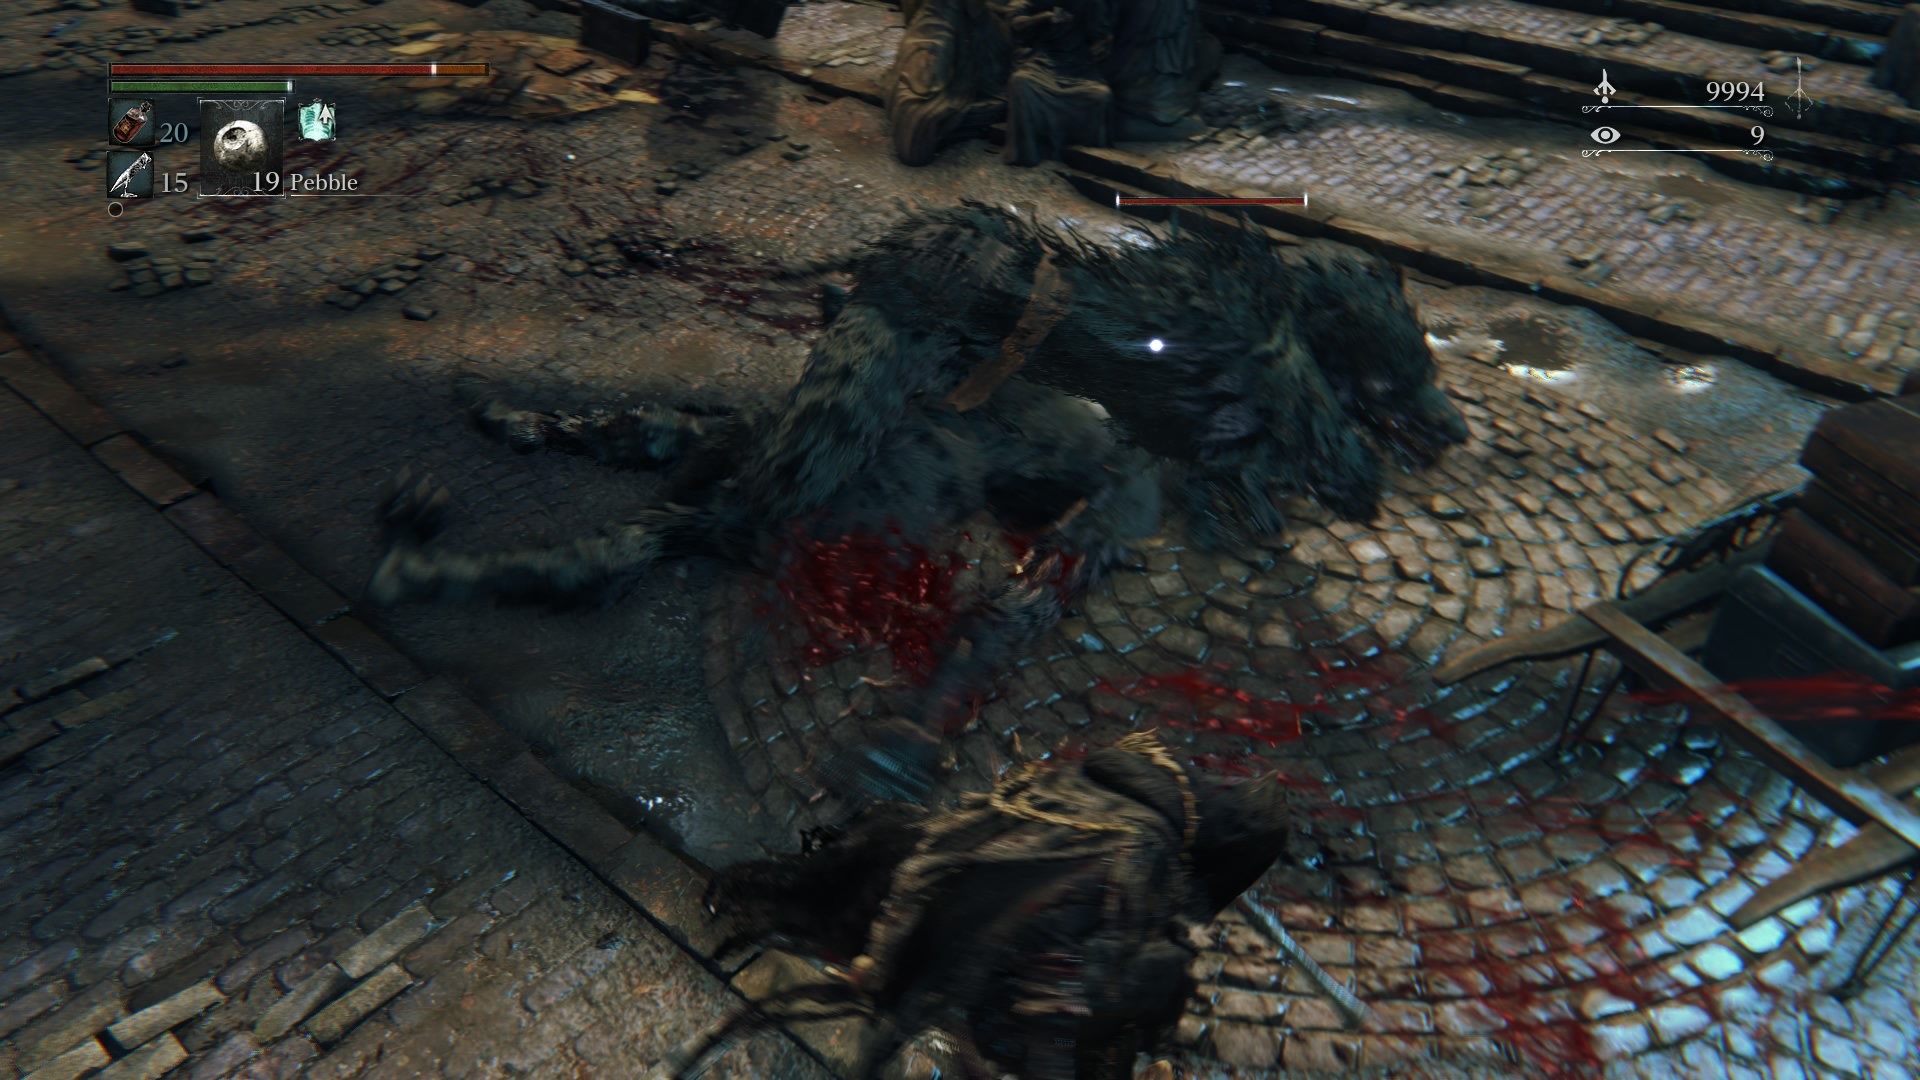
Feel like a real challenge, then? Well, pay attention. First up, the wolverines. If you’re at least level 20 (you can check real quick by pressing options, then right on the d-pad to select stats), they’ll be little problem. Of course, as with any group of enemies, your best bet is to lure them out one at a time. But these are pack animals, so you have to be swift. Target and hit one, and get ready. As soon as you see him lunge, dodge out of the way, ideally to the left or right, and then strike with a couple of R1 attacks. If you do not kill the first one in one round of blows, then get ready for the second one who should be on his way over to protect his pal by this point. If you can defeat one in three or fewer hits, then you are ready for the Cleric Beast at the end of the bridge.
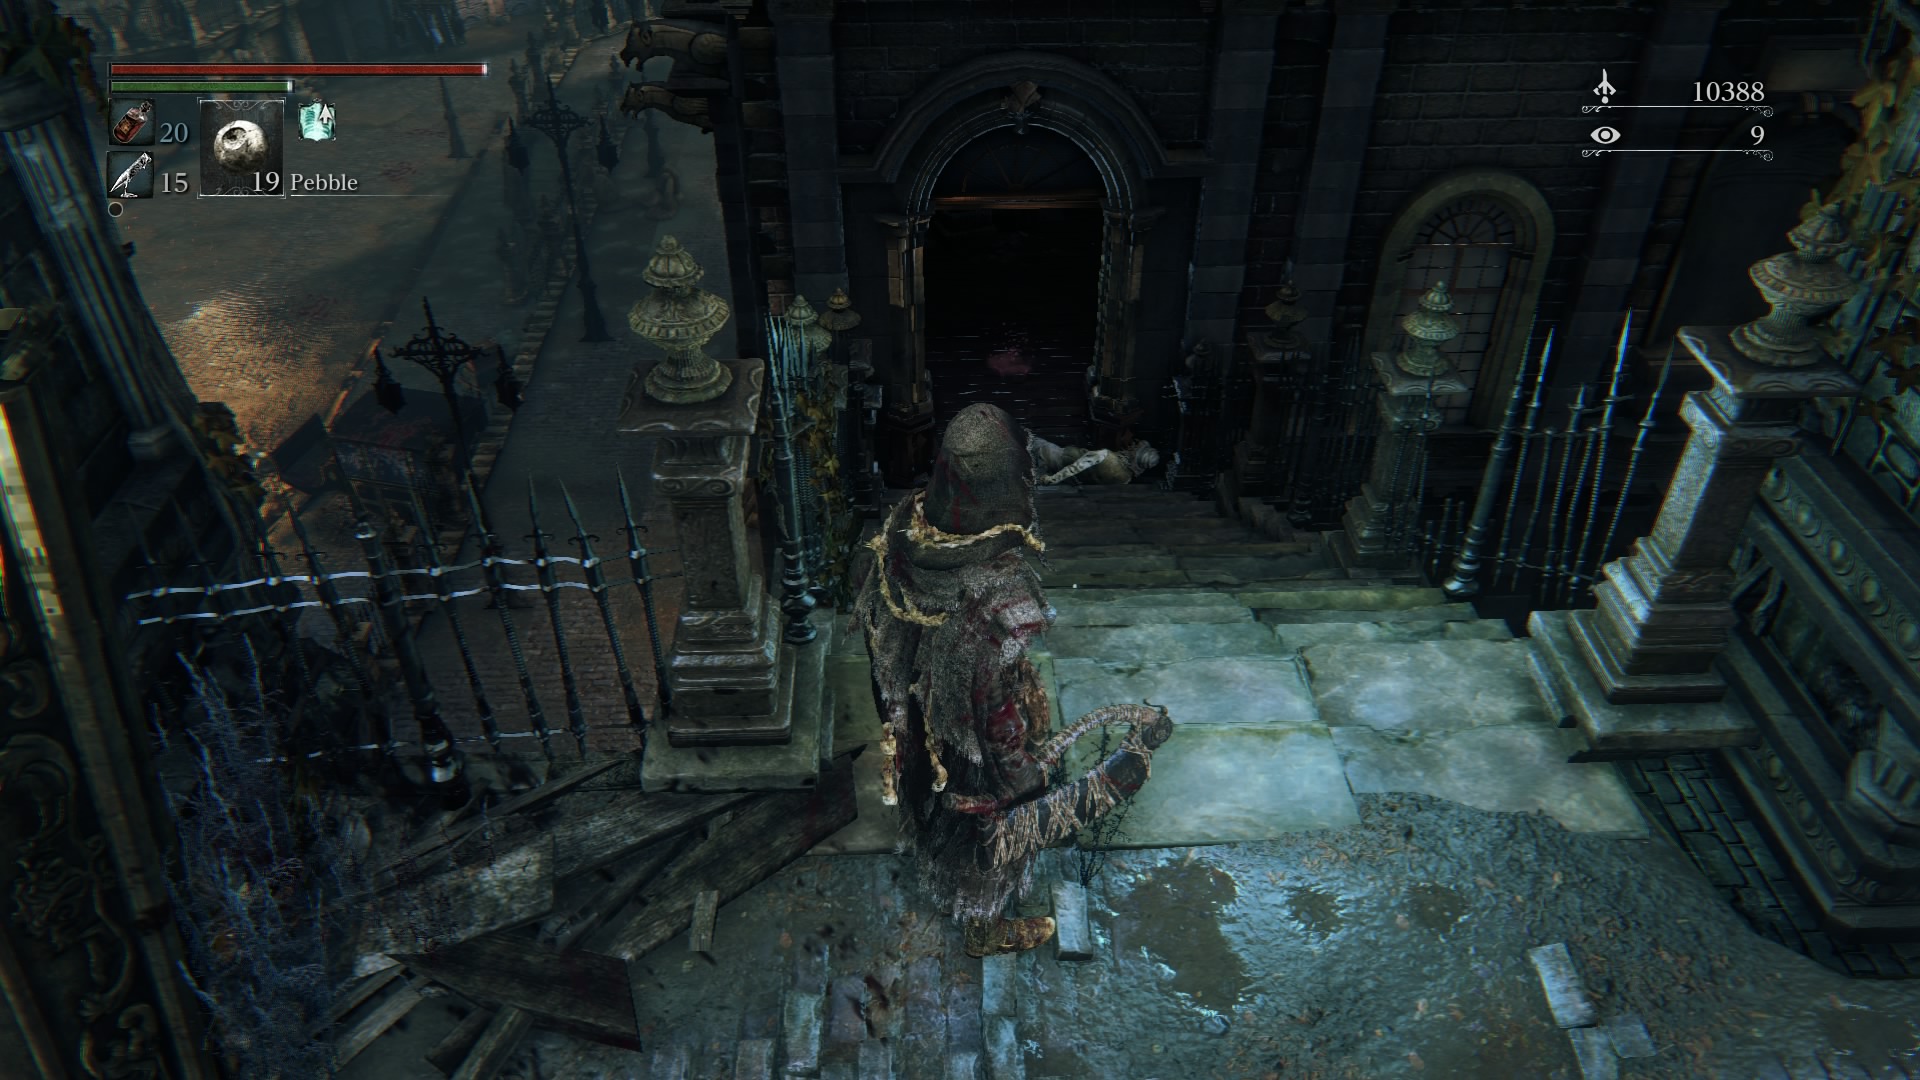
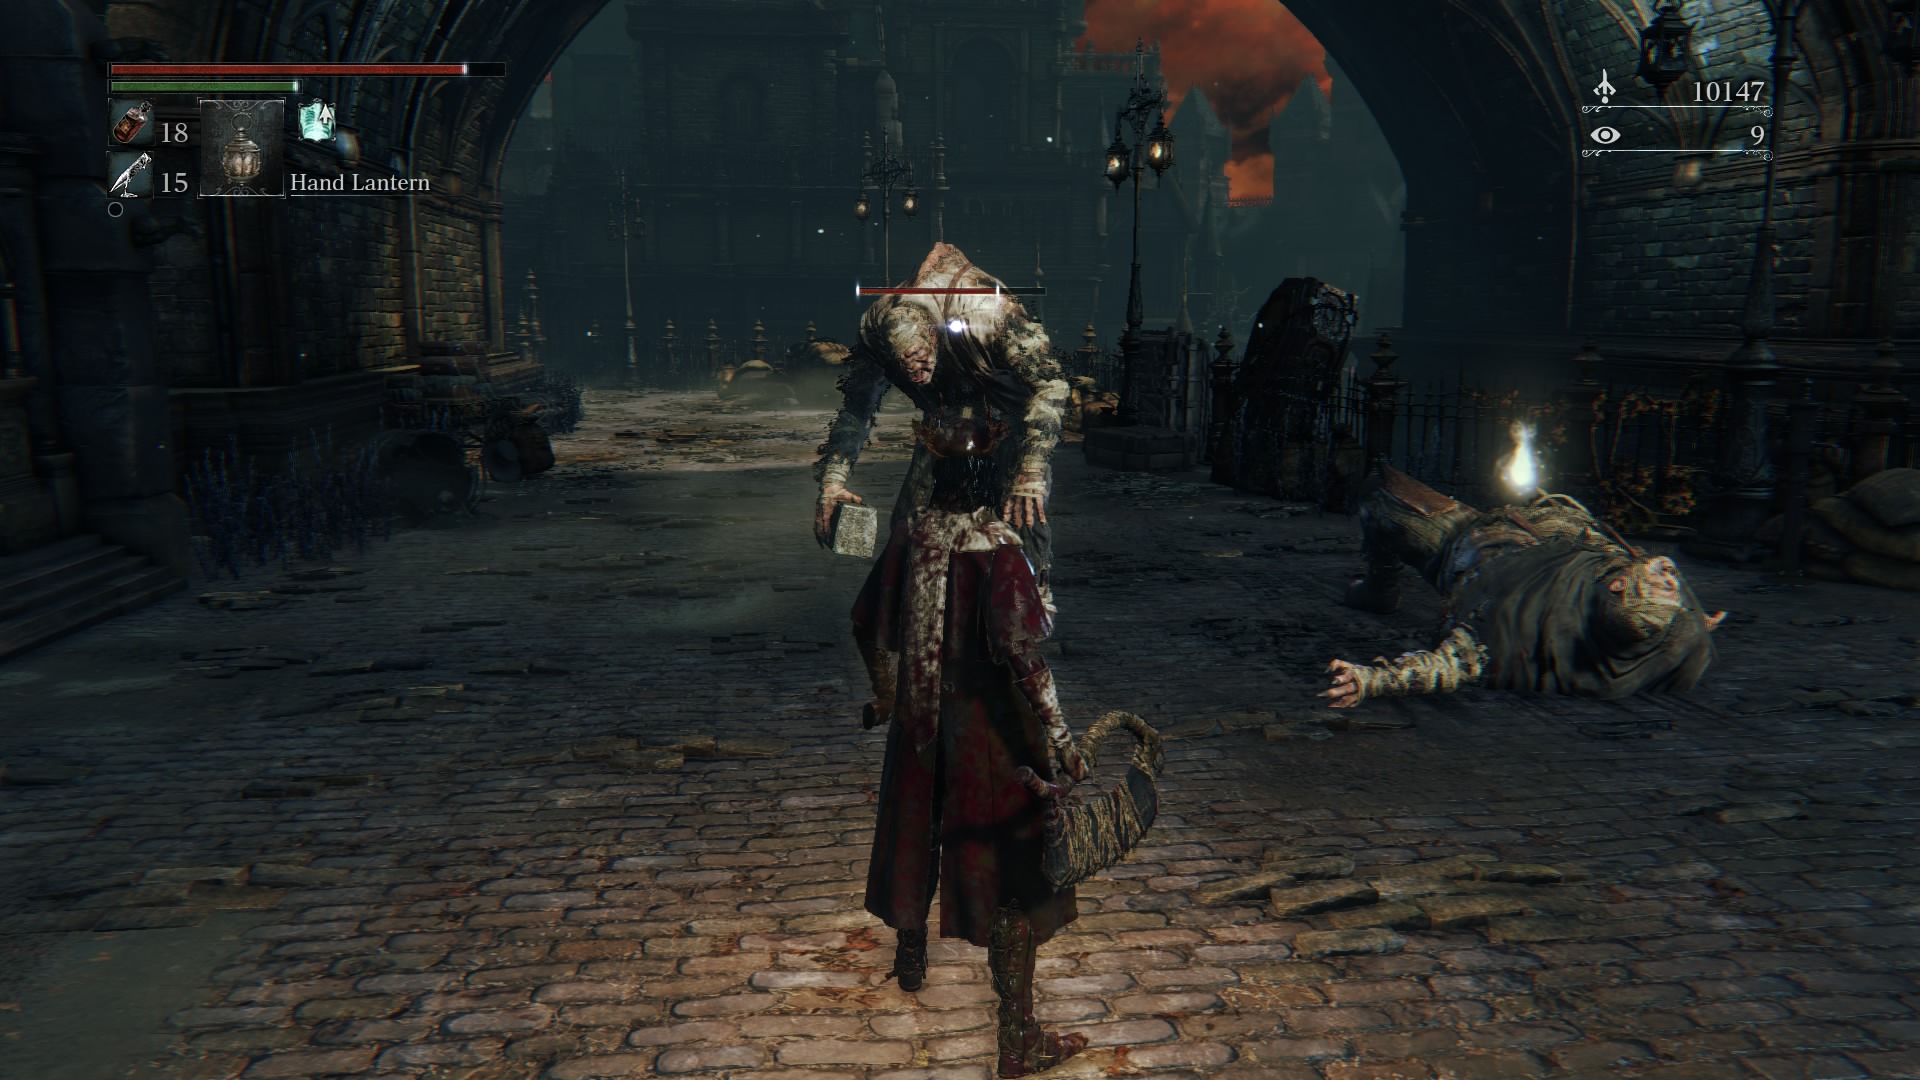
If you head further down the bridge, you’ll run into one villager on your left first. He’s nothing special, so dispatch him however you please. You can head down those stairs to clear out a house, and this is advised as there are a decent amount of Blood Echoes to be found here. You’ve probably noticed another Grunty further down the bridge. You can proceed this way, but be careful not to venture too far and trigger the boss battle prematurely. But then again, some deaths in Bloodborne have meaning…We’ll get to Grunty, the crows and the Cleric Beast in a second. But first, the house that’s all dark and not inviting.
Head down the stairs, and get a torch ready. If you don’t have a torch yet, go back to the Hunter’s Dream and buy one. It’ll help for dark places like this. As you head inside the house, there’s an enemy to your immediate left, past some barrels. There’s another on the opposite side of the platform that you’re on. Head downstairs, and there’ll be a third enemy waiting for you. He’s a sword wielder, so he’s got a bit more health than the previous two. Don’t forget to use your torch as a weapon! Flesh burns real well. Finally, if you head under the platform you were on, you’ll see an old guy on a wheelchair, with his back turned to you. He is nothing like the old guy on a wheelchair in the Hunter’s Dream – he will hit you hard with what looks like a shotgun if you don’t get him first!
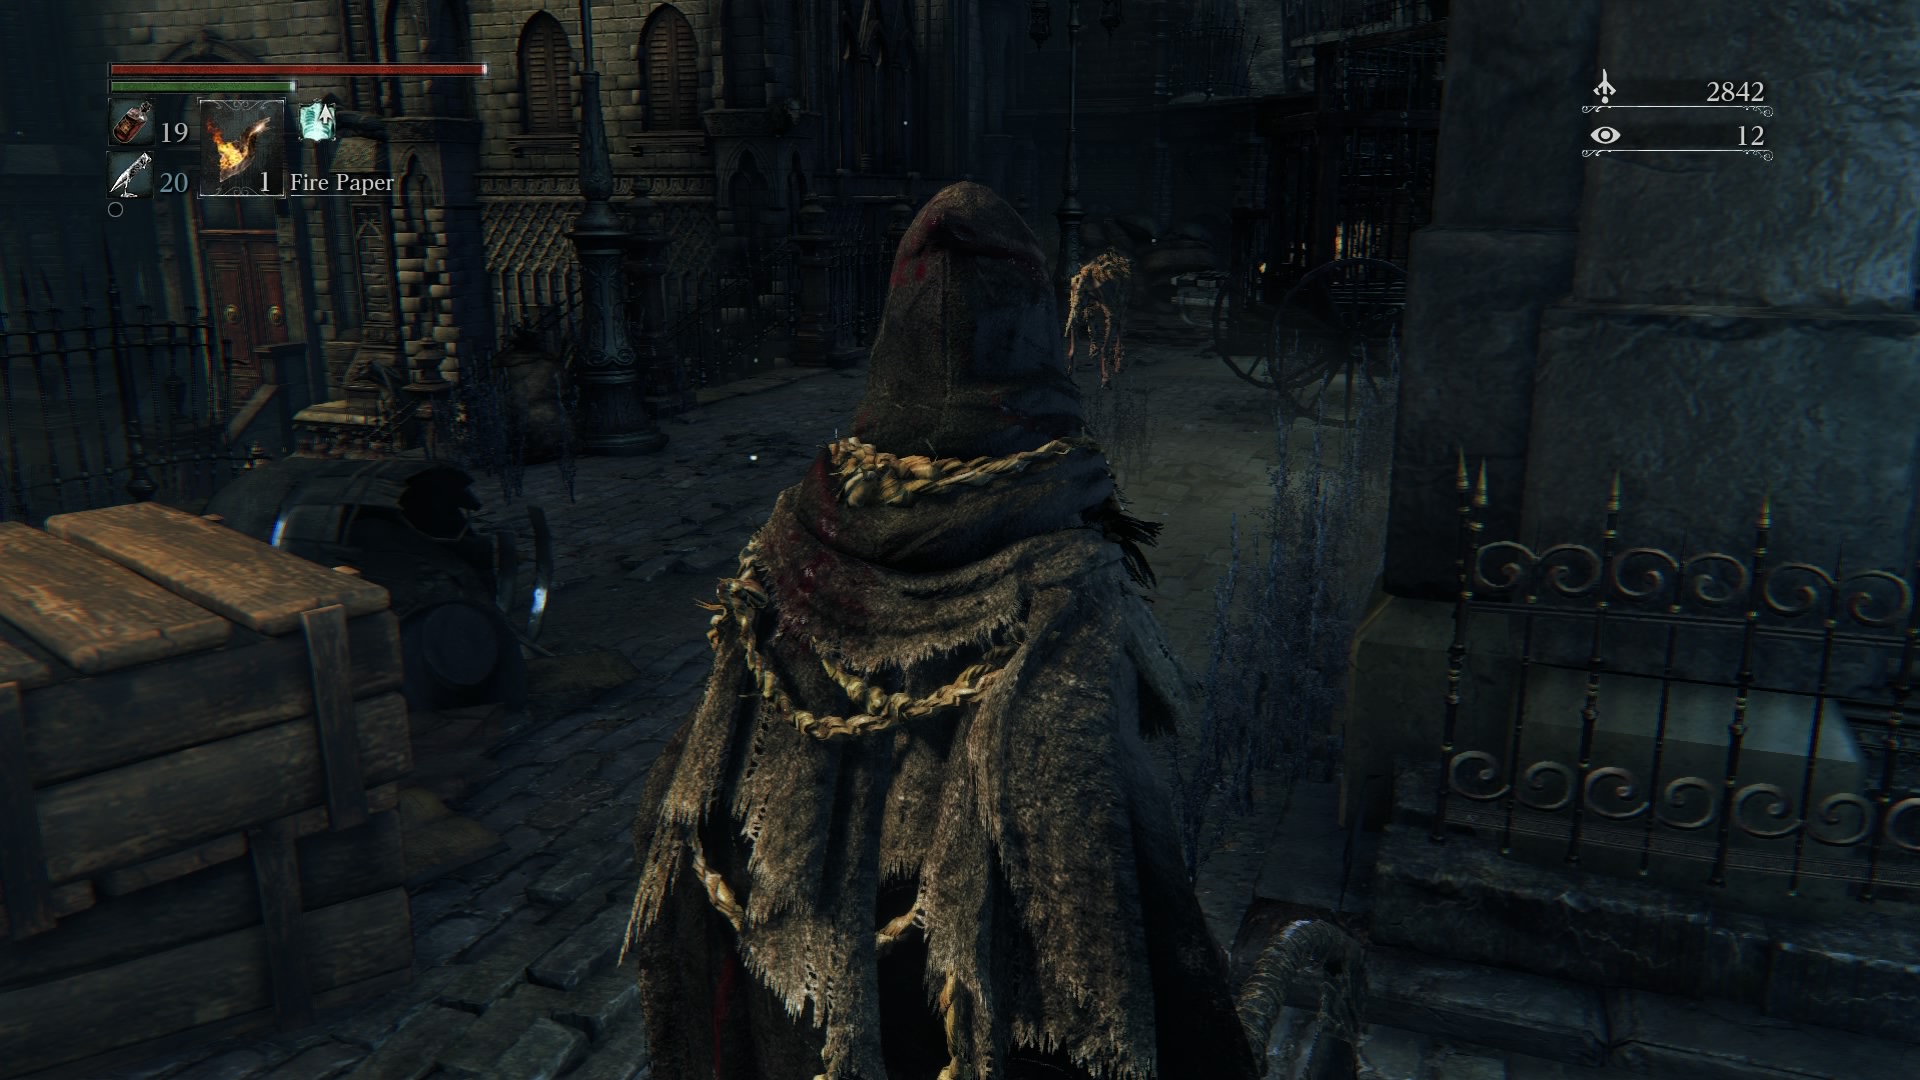
Once that area is cleaned up (check the walls for a message!), head outside. With your back to the stairs connected to the platform, to the right is a series of stairs. Keep heading straight outside, and you’ll wind up in an area where a bunch of hounds are caged up. Kill them in their cages, lest they jump out at you. Be careful; depending on how long you’ve been in the area, one or more of them will be out of their cages. There is a door you can knock on here, with a woman asking for a safe place to go, though as usual she doesn’t like you no matter what you tell her. Clear this area, and you can continue into the stairs across the way. However, if you venture out and take a left at a staircase, you can choose to take another path. This path is a bit more risky – be ready to fight two Grunties.
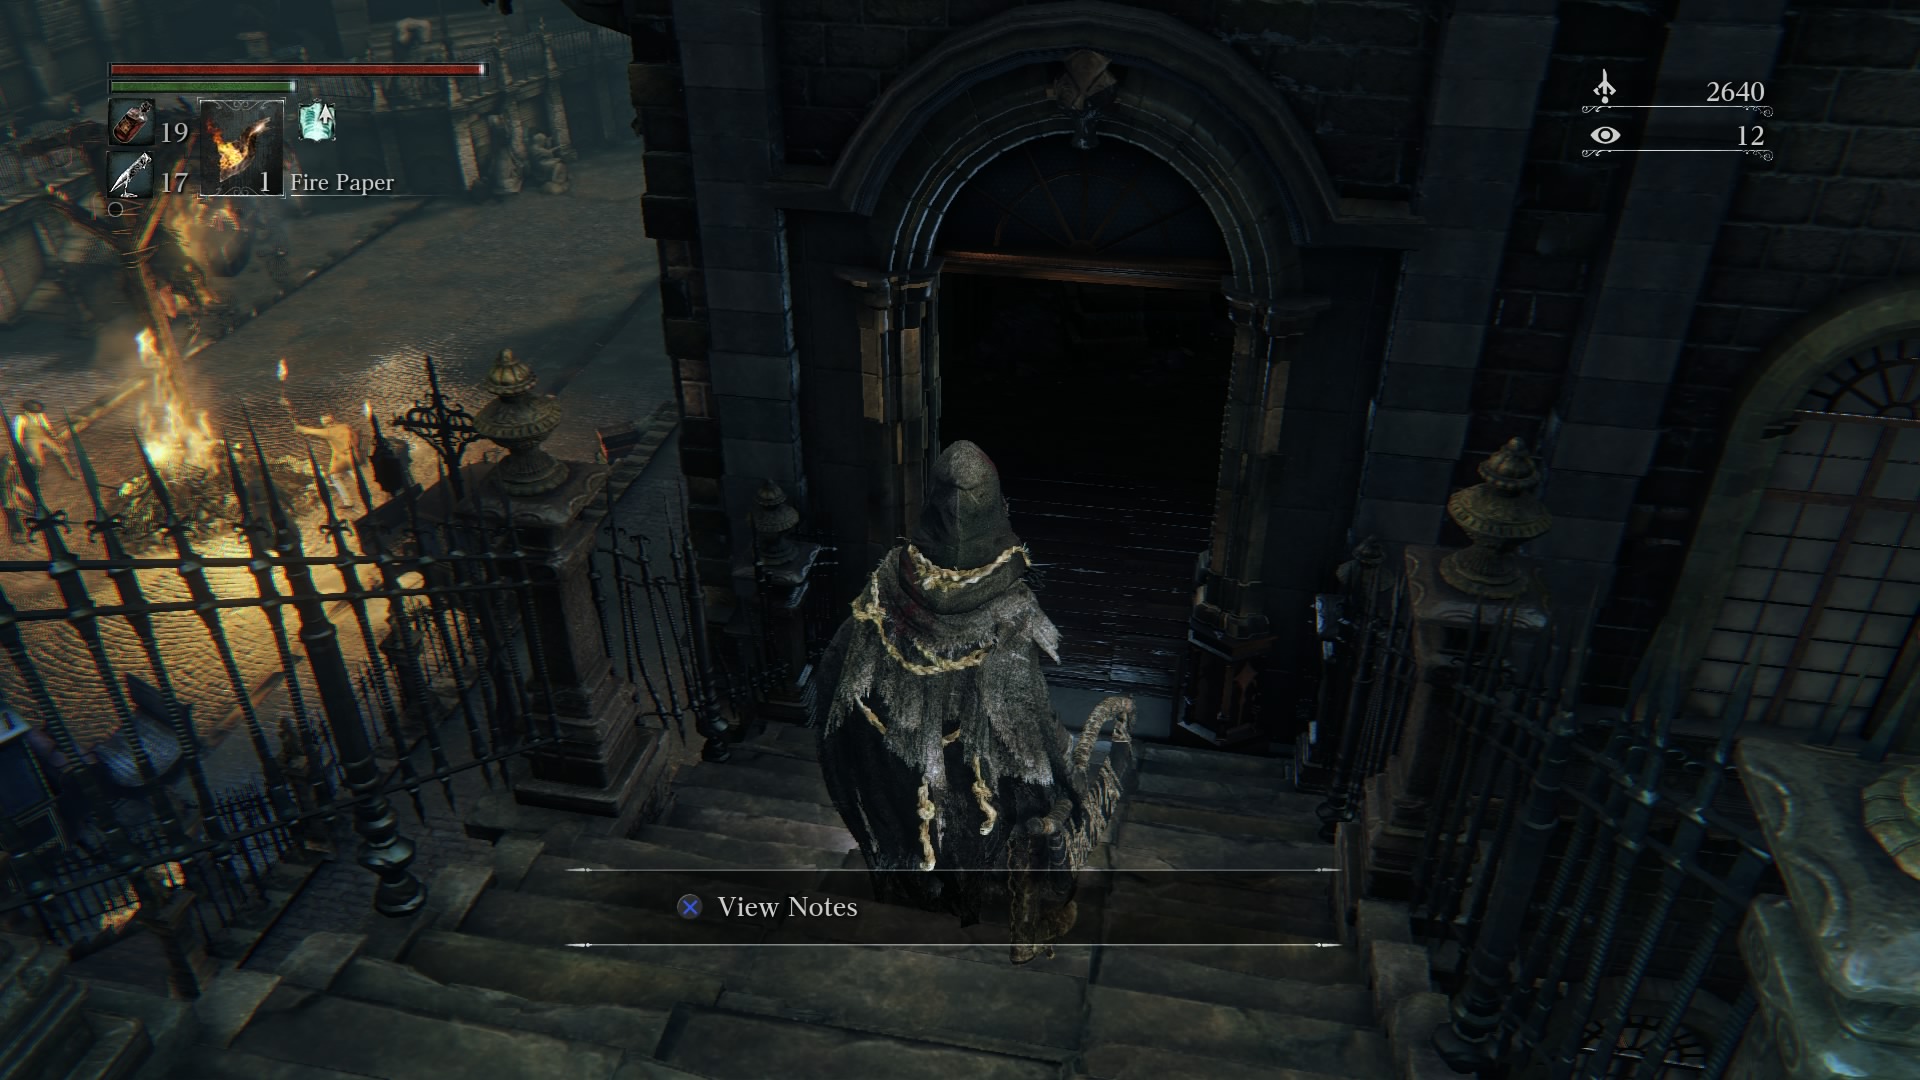
While it’s best to take them one at a time, they are too close to each other to not notice when you attack one, so hurry up and deal as much damage as you can to the first, dodge any incoming attacks, and repeat until you are the last one standing. You can continue towards the church-looking structure down below, but I would recommend the other direction, because you can unlock a gate that was previously closed right next to the Central Yharnam lantern. Head up that path, and you will face a single torch-bearing enemy. Once he’s taken care of, continue up the stairs and you can unlock the gate. Use the lantern to return to the Hunter’s Dream, because by now you likely have tons of Blood Echoes to turn in.
Heading towards the church-like structure reveals an elevator. Use the lever to call the elevator if it isn’t already waiting for you, and take it down by stepping on the stone in the center. Now, Yharnam really begins to open up. You can go left onto the bridge, where you’ll be charged by a number of enemies. Stay focused! Right as the enemies reach you, a Grunty will throw a flaming boulder in your direction! Dodge it, and it should hit most of, if not all, of your enemies, and you’ll still collect their Blood Echoes. Talk about winning!


