Yharnam Sewers
Previous: Great Bridge
If you continued to the other side of the Great Bridge without taking on the wolves, then you can enter what I’d call an introduction to the sewers. Once you get down the stairs, look left to an alleyway full of wooden stuff just begging to be broken. Do so, and a path will be revealed. Head down the ladder and subsequent platforms to face a new enemy. He’s tall, lanky, and carrying a staff that he can twirl. If he manages to land a hit, dodge away and then hit him to gain some health back. You’ll see a small bridge, and you’ll want to cross over that to defeat another tall enemy on the other side. A second bridge is a bit further down; cross that to defeat a third tall enemy. Head back and go down the third ladder to face a handful of rats. If you head further down the sewers, be careful of one final tall enemy on the left side, who’s ready to ambush you. Take him out, and take an item from an already-killed foe. You can look over the ledge you now find yourself on, however it’s not generally recommended to jump down into the lower level, because it can be reached in a different, safer method that is shown below. Your best bet is to head back out the way you came, and face those two wolves or die trying.
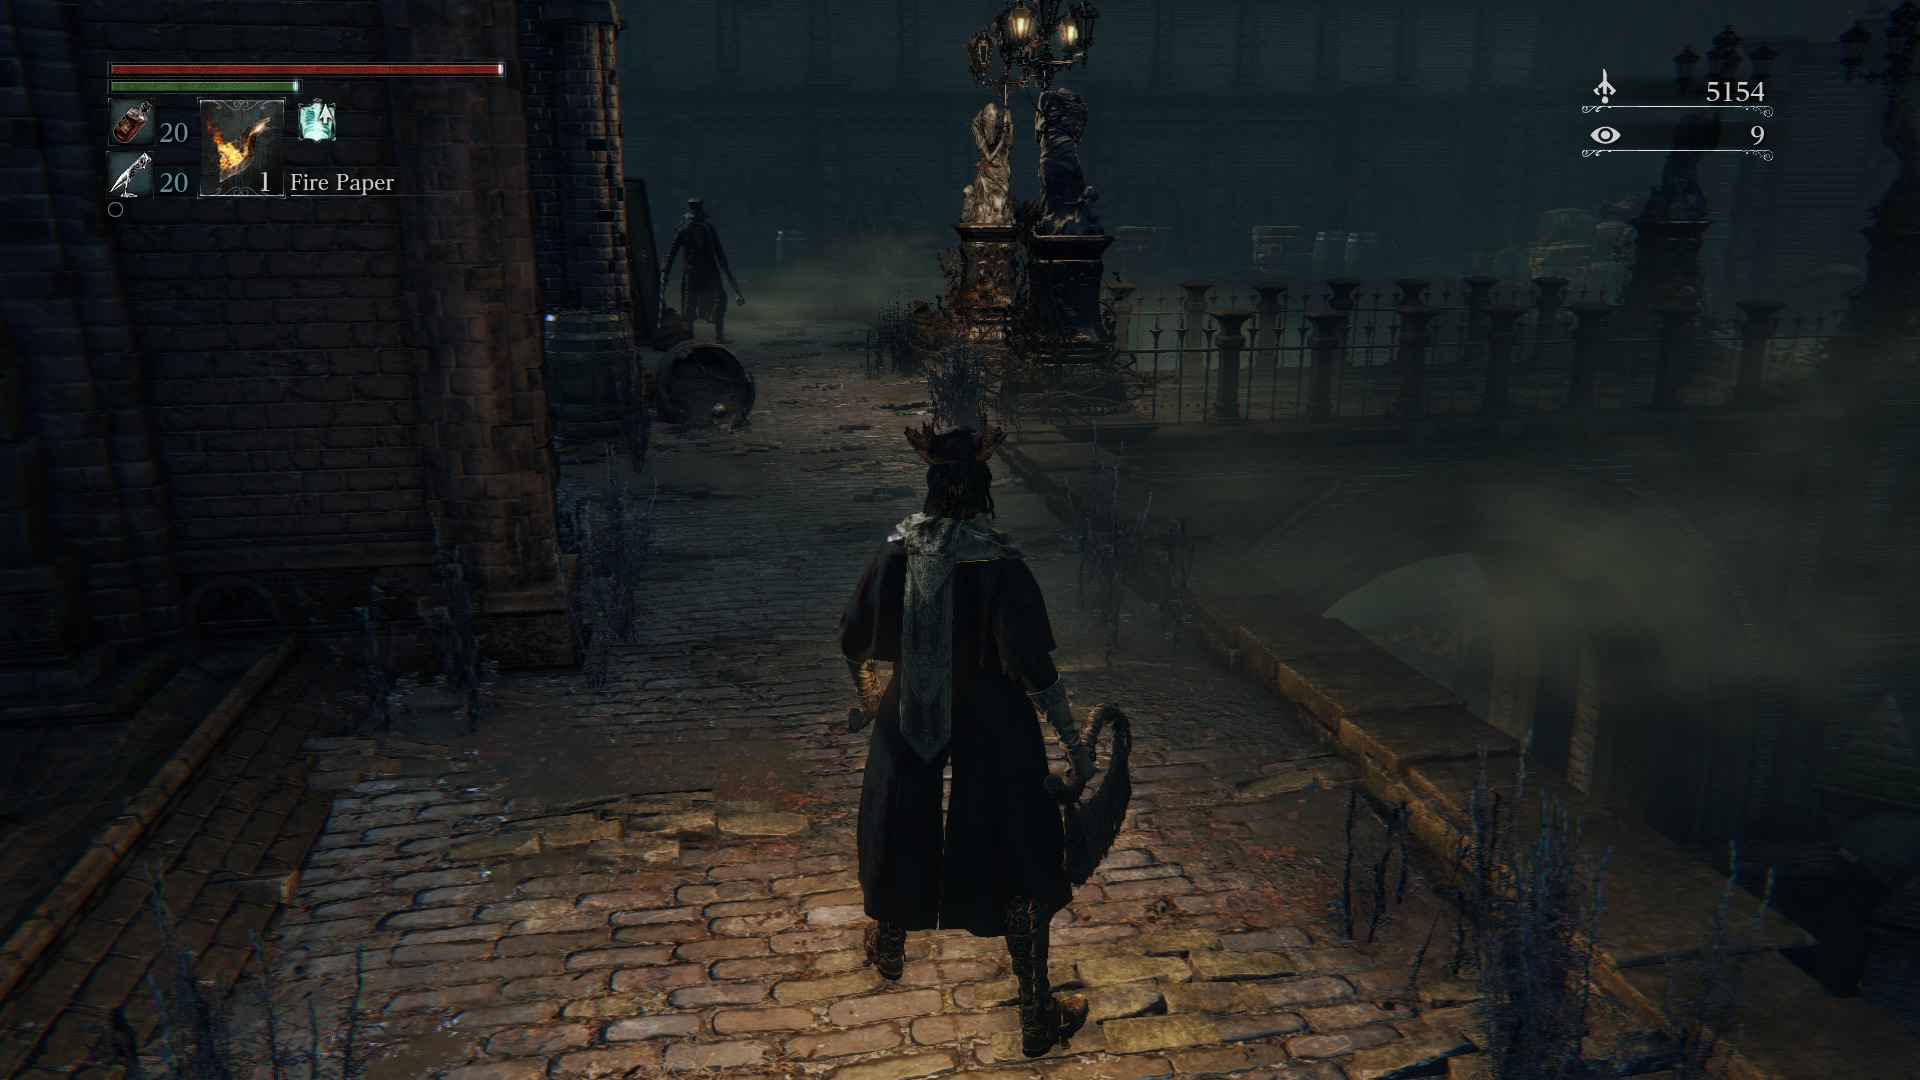
Back at the Great Bridge, just beyond the two large wolves is a single villager. Kill him, and then decide your path. If you choose to take on the enemies inside the dark house to get to the sewers, we covered that in our Great Bridge section. If you’d rather get right to the sewers, read below.
Once you defeat/run past the two large wolves, there is a single villager to the left. On the opposite side of the bridge from him is some wooden stuff; this is your cue to break it all down, to reveal a path hidden below. Head down there and down some stairs – two flights to be exact. You’ll know you’re in the right place when you hear barking. There are a bunch of hounds caged up. Kill them quickly in their cages, lest they jump out at you. Be careful; depending on how long you’ve been in the area, one or more of them will be out of their cages. There is a door you can knock on here, with a woman asking for a safe place to go, though as usual she doesn’t like you no matter what you tell her (for now). Clear this area, and you can continue into the stairs across the way.
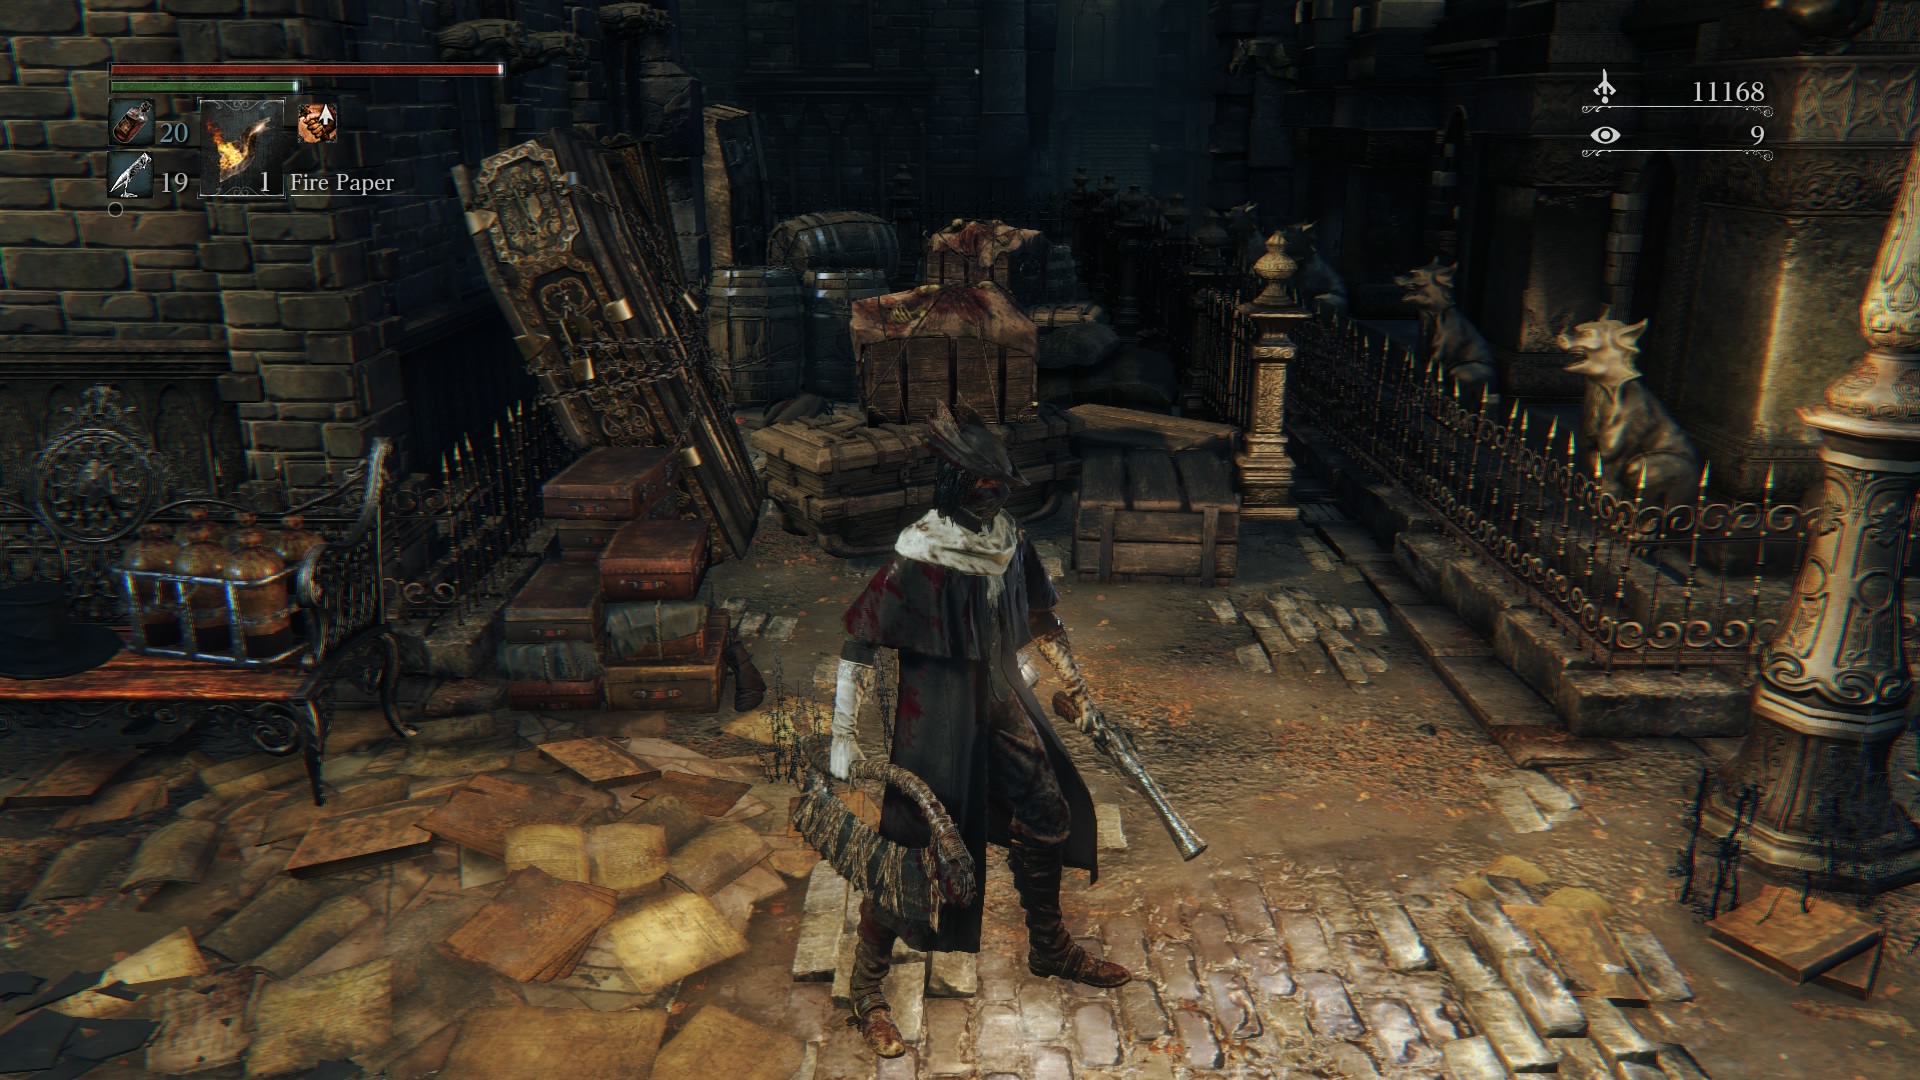
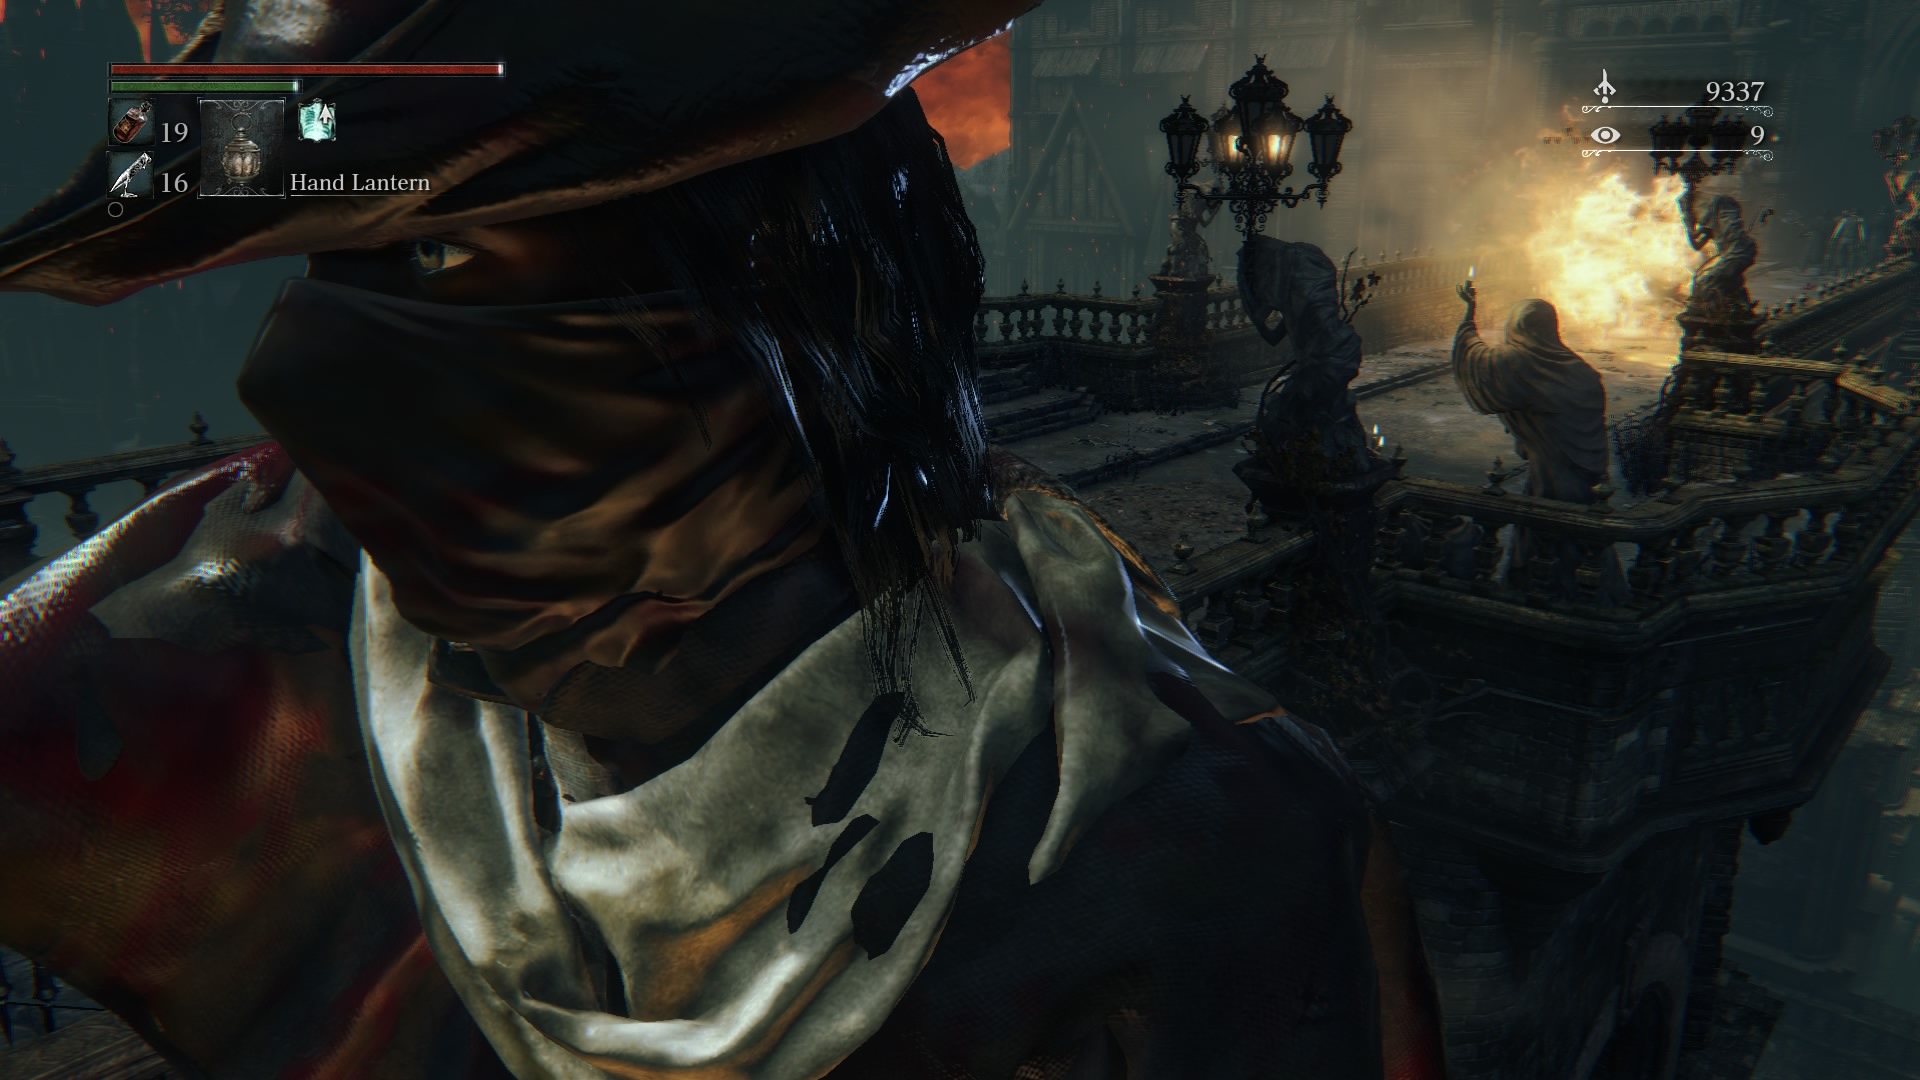
Head down one more flight of stairs to see yet another longer set – head right if you’d rather try your luck at finding treasure. When you do go down the stairs be ready to fight, as a taller enemy will approach with a torch. Your best bet here is to fight fire with fire, so equip your torch. Head around the corner and down another short flight of stairs to open into a new area. There will be an enemy with his back conveniently turned towards you; target him, approach slowly, and stealth kill him (charged R2 followed by R1). This will attract the attention of a rifleman to your left, whom you can kill with the usual methods. To the left of the rifleman will be a narrow bridge, and another medium-strength enemy carrying a torch. It’s your choice – take him on, or just keep going. Just know that this enemy will likely be carrying a Blood Stone Shard, which you need to upgrade your weapons.
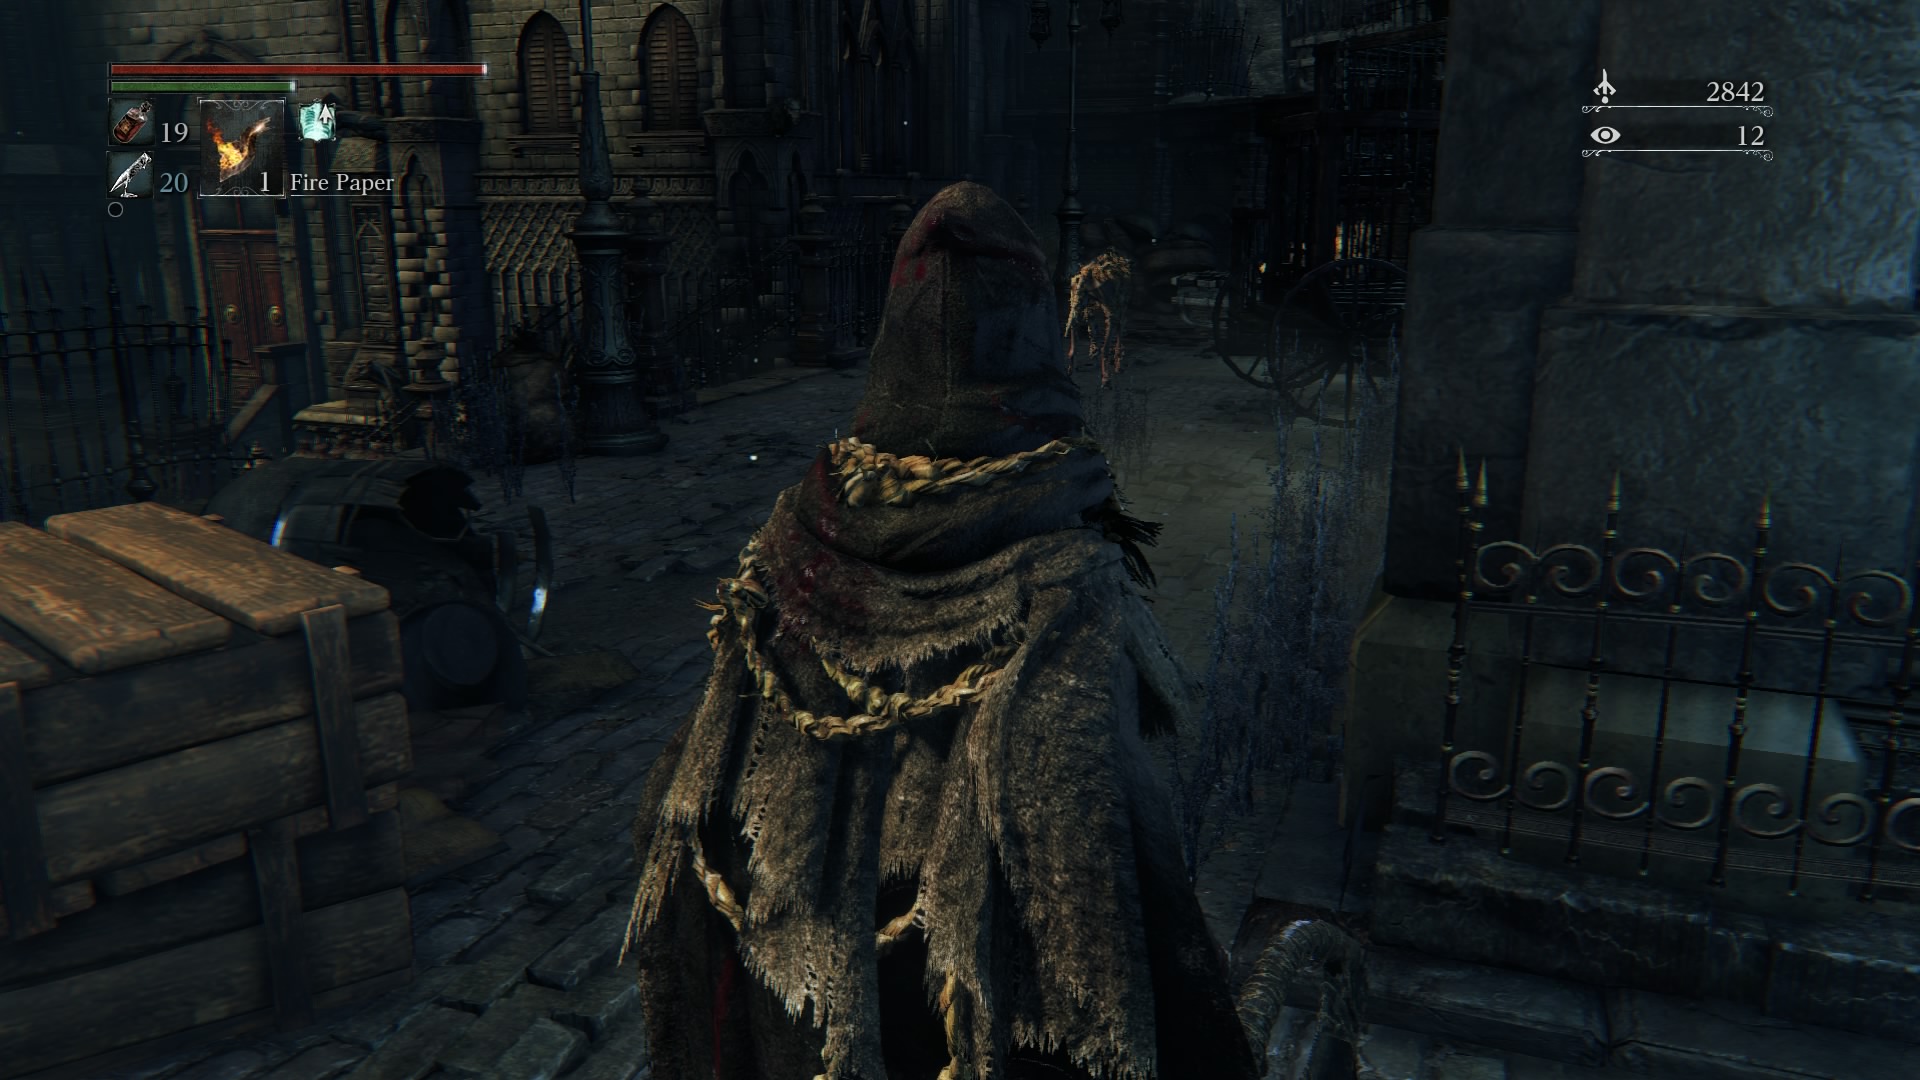
Whatever you choose, once you head out you’ll want to keep moving. Head out and go left, and you will be greeted by two riflemen and another medium-strength torch bearer. Kill ol’ Torchy on the left first, because the riflemen are pretty slow to attack. If you cross the bridge to get to the opposite side from where you came outside, there are four crows to take care of, including one who’s hiding behind some barrels near another bridge. If you cross this bridge, to the left will be a ladder you cannot reach. To the right will be two crows. At the very least all this murder murdering (a group of crows can be called a murder!) will be worth a small fortune of Blood Echoes. Anyway, head back away from the crows, and just before the bridge look down. You will see a collectible sitting up on a crossbeam. Carefully drop down to collect it. If you’re not feeling that adventurous, simply go back the way you came to the group of three villagers, cross the bridge (or go around), and head down the ladder.
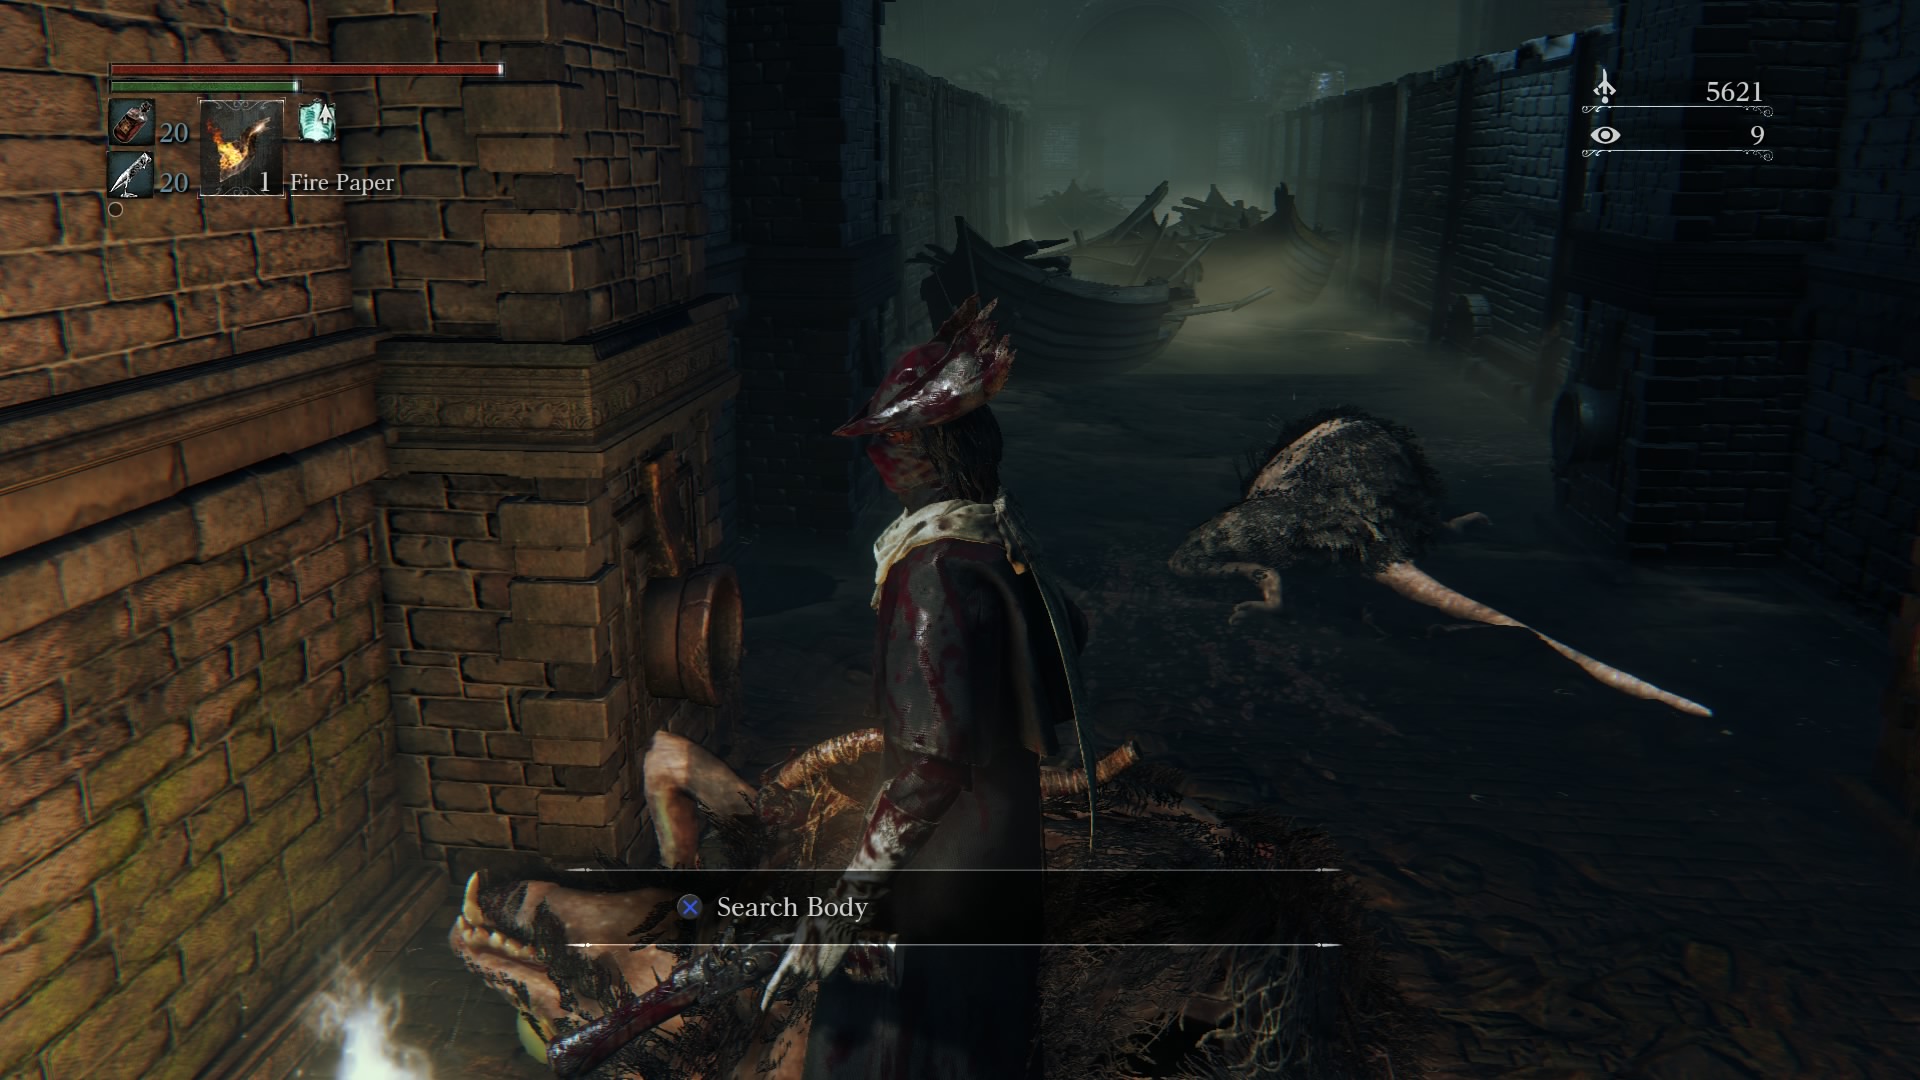
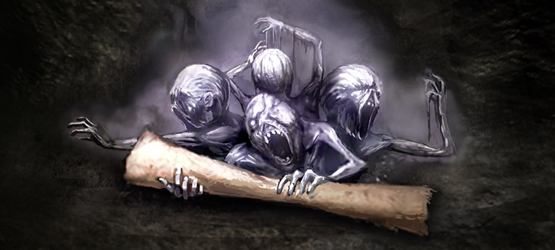
Head left from the ladder, and then down the friendly-looking alley. There’s only two rats at the end of the alley, past three broken boats. They’re guarding a corpse, which you can naturally loot for a Blood Stone Shard. Head back the way you came, and don’t worry about the rats up above – they don’t seem too keen on coming your way. Head to the right, past the ladder you climbed down. There’s an alleyway to the left after a while, but there’s nothing worth noting there. Keep going until you reach a platform, from where you can see a bunch of crawling enemies. Climb down the ladder to take them on. A word of warning: they have a lot of health, but they are slow, so focus on one at a time and try not to leave the immediate area, otherwise you may invite even more enemies to take on at once. Besides swiping at you, they can also projectile vomit. You’ll know you’ve killed them all when their rhythmic breathing stops. There are seven crawlers to kill in the initial area.
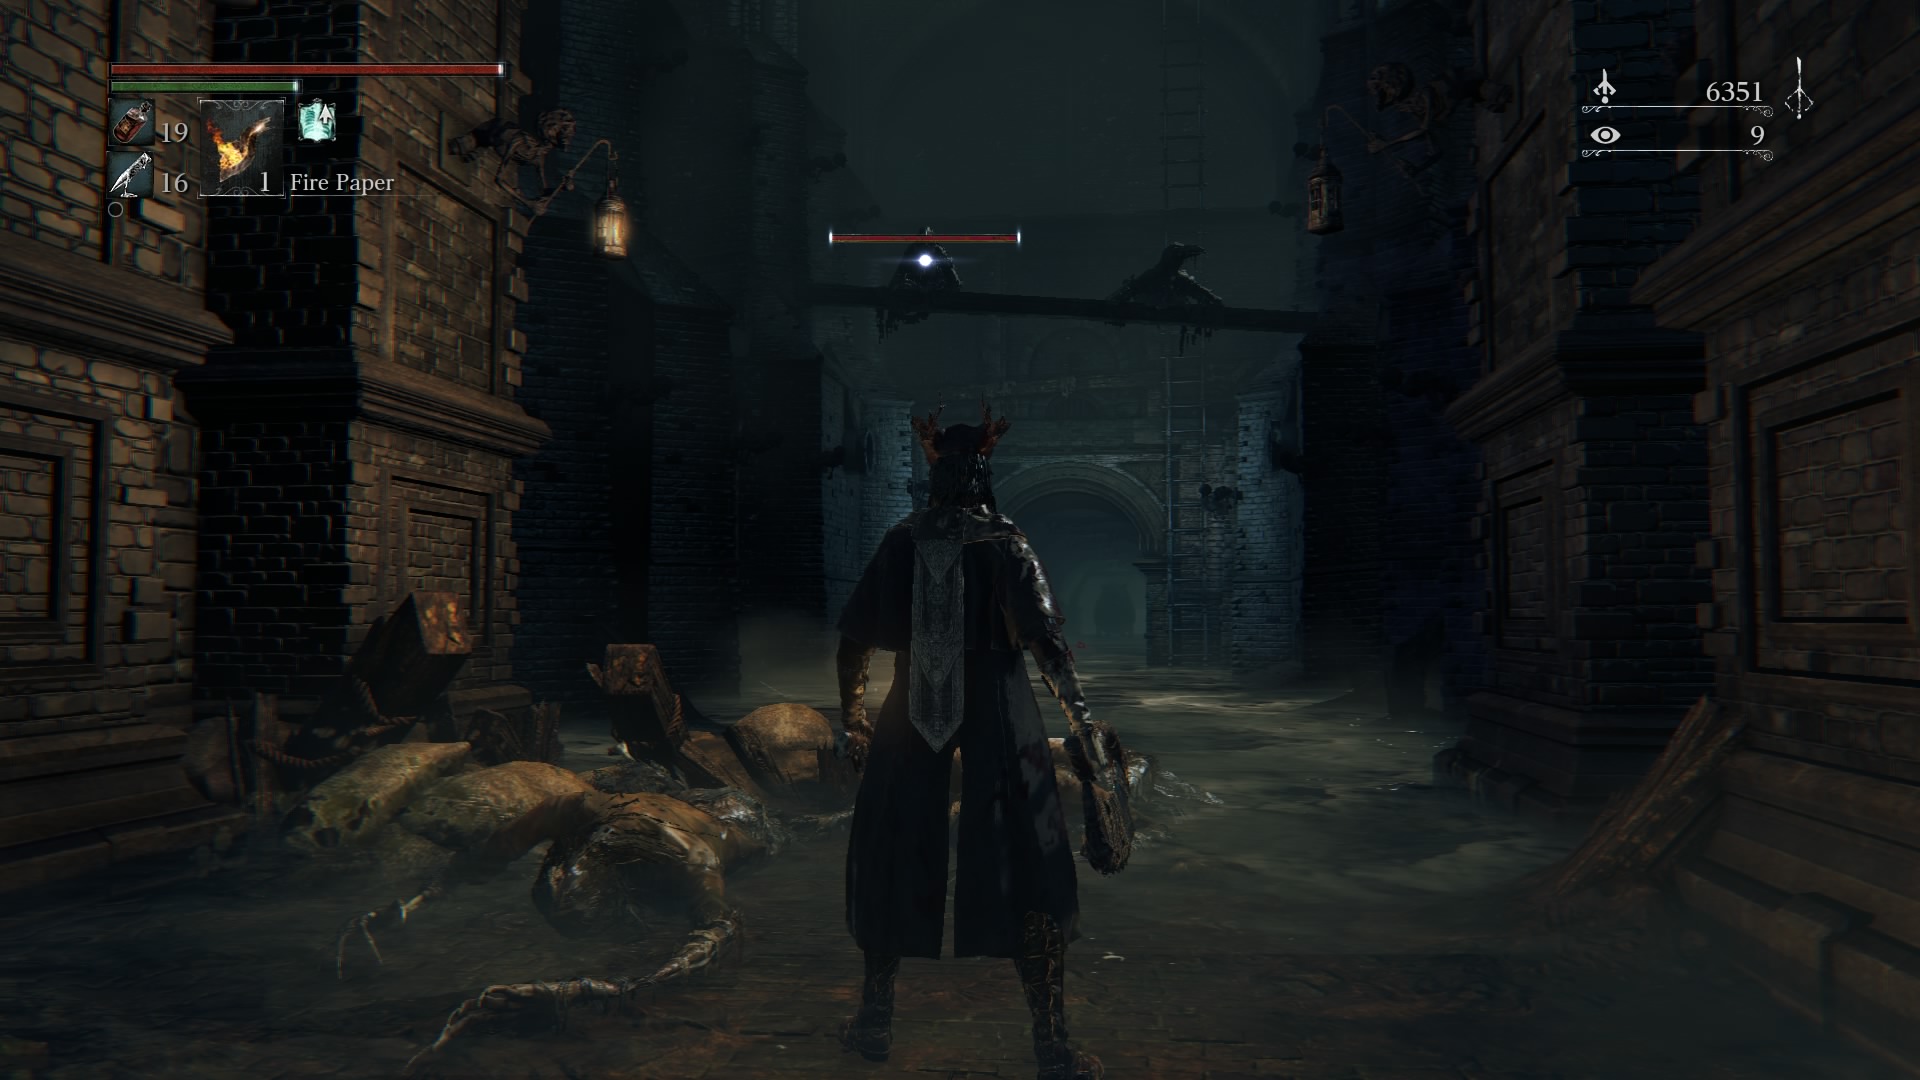
Collect any items the crawlers dropped, and continue out the area. Look both up and down here: up for crows perched on beams, down for more crawlers. The first group will consist of two crows and two crawlers; the second group will have three crawlers and two crows. Shoot the crows down by targeting them first to weaken them before you have to deal with them. When you’ve dealt with this final group, you’re almost done with the sewers! You now have a choice (but not really, if you want to progress in Bloodborne) – up the ladder, or face a gigantic pig with a mean snout.
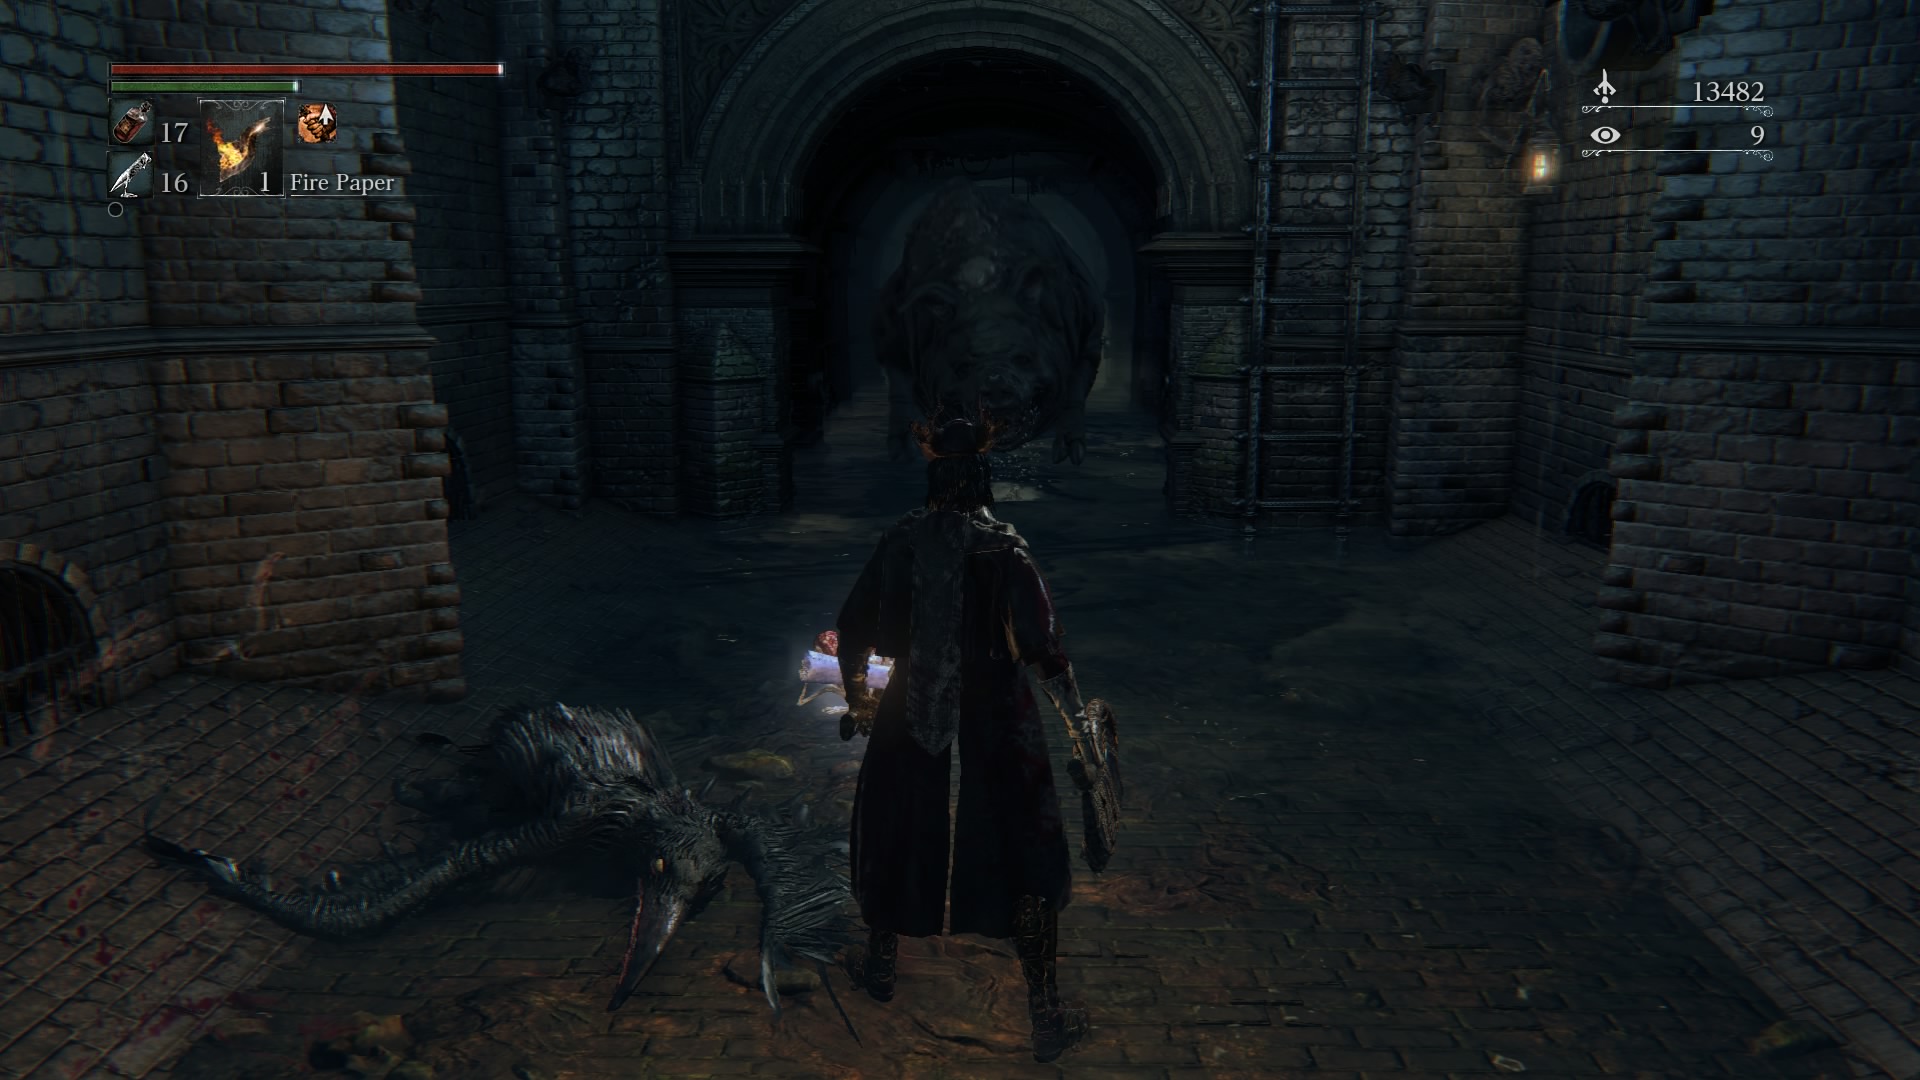
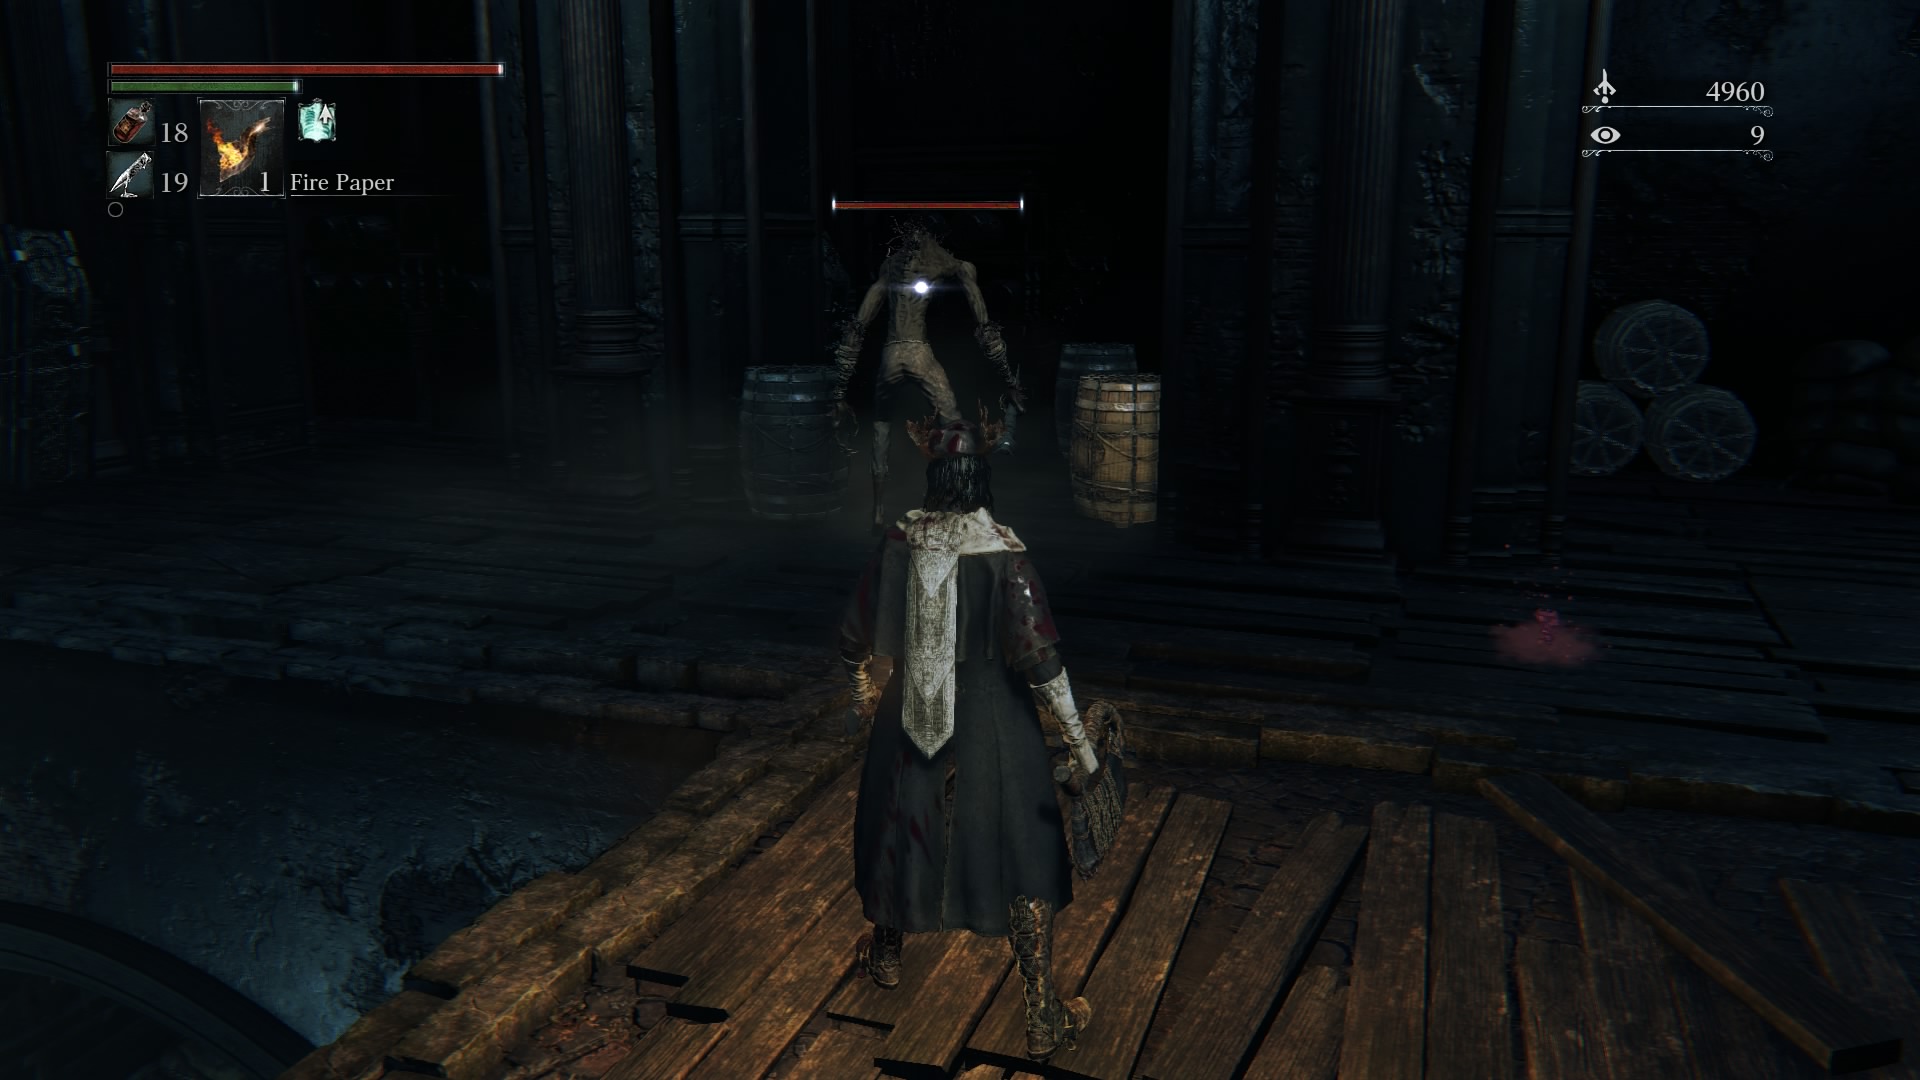
Chose the pig? Good, you’re up for a challenge. Head down the tunnel where you can see the silhouette of the evil swine, and keep going until you can see him walking towards you. Start to head back the way you came, though not too quickly or else he may lose sight of you. If you get too close, he will squeal like all mad piggies. Once he lets out that roar, head back as quickly as you can. The pig will charge, but just like most enemies you can dodge him and then rally back with attacks of your own. Close-range is recommended here as well, because the pig doesn’t have a ton of health but will do some major harm to you. He can belch at you, which will hurt and possibly poison you. When he squeals and rares back is your best opportunity to attack. Fire paper is too expensive to use for this battle, so pay attention to your health and you should do just fine. With the pig defeated, head through the tunnel to collect your prizes. Go forward until you see an opening on the left side; don’t go to the end of this corridor, as there is a pit with a fall that will kill you. Head left instead. You’ll see a ladder, and can head up it to skip the bridge that you just passed under.
Climb the ladder, but wait before you get up to the top. Look around, and you’ll see one shielded villager and a Grunty. Wait around for a little while, and you can see Grunty hit a boulder after he sets it on fire. This will be launched at villagers on the other end of the bridge, who will die. The best part? You’ll get credit for all those kills! Defeat the shield enemy first, then Grunty if you can. Beyond this point are some stairs, and two tall enemies with torches. Lure them out one at a time as usual. If you head up the stairs to your left, a boss battle will be triggered. You’re probably not ready for this battle yet, so head across the large bridge you saw Grunty throw the flaming boulder on earlier. There might be one or two enemies leftover that the flaming boulder didn’t do in, so finish them off. Then head right after you get down the stairs. You can use an elevator, or call it down if it isn’t already.

Head outside and up some stairs to face two Grunties! Gasp! Remember, they are actually pretty weak, they just look intimidating. So concentrate your attacks on one at a time, and dodge as often as your Endurance allows. If you’re running low on Blood Vials, first, shame on you! Second, use your weapon in ranged mode to fend them off, or shoot at them if you have enough ammo to keep one at bay while you whittle down the other’s health. If you haven’t been to the Hunter’s Dream for a while, head under the bridge the Grunties were passing underneath, and head up some more stairs. There will be a single low-level torch enemy to easily take care of. He’ll see you before you reach the stairs to his right, and will head down to do battle with you. No biggie by this point, right? Head up a final flight of stairs. If you haven’t been here before, there will be a gate to open up, and you’ll be back to the first lantern you ever unlocked. Not too bad for one massive loop, right? Head back to the Hunter’s Dream to cash in your Blood Echoes and items.


